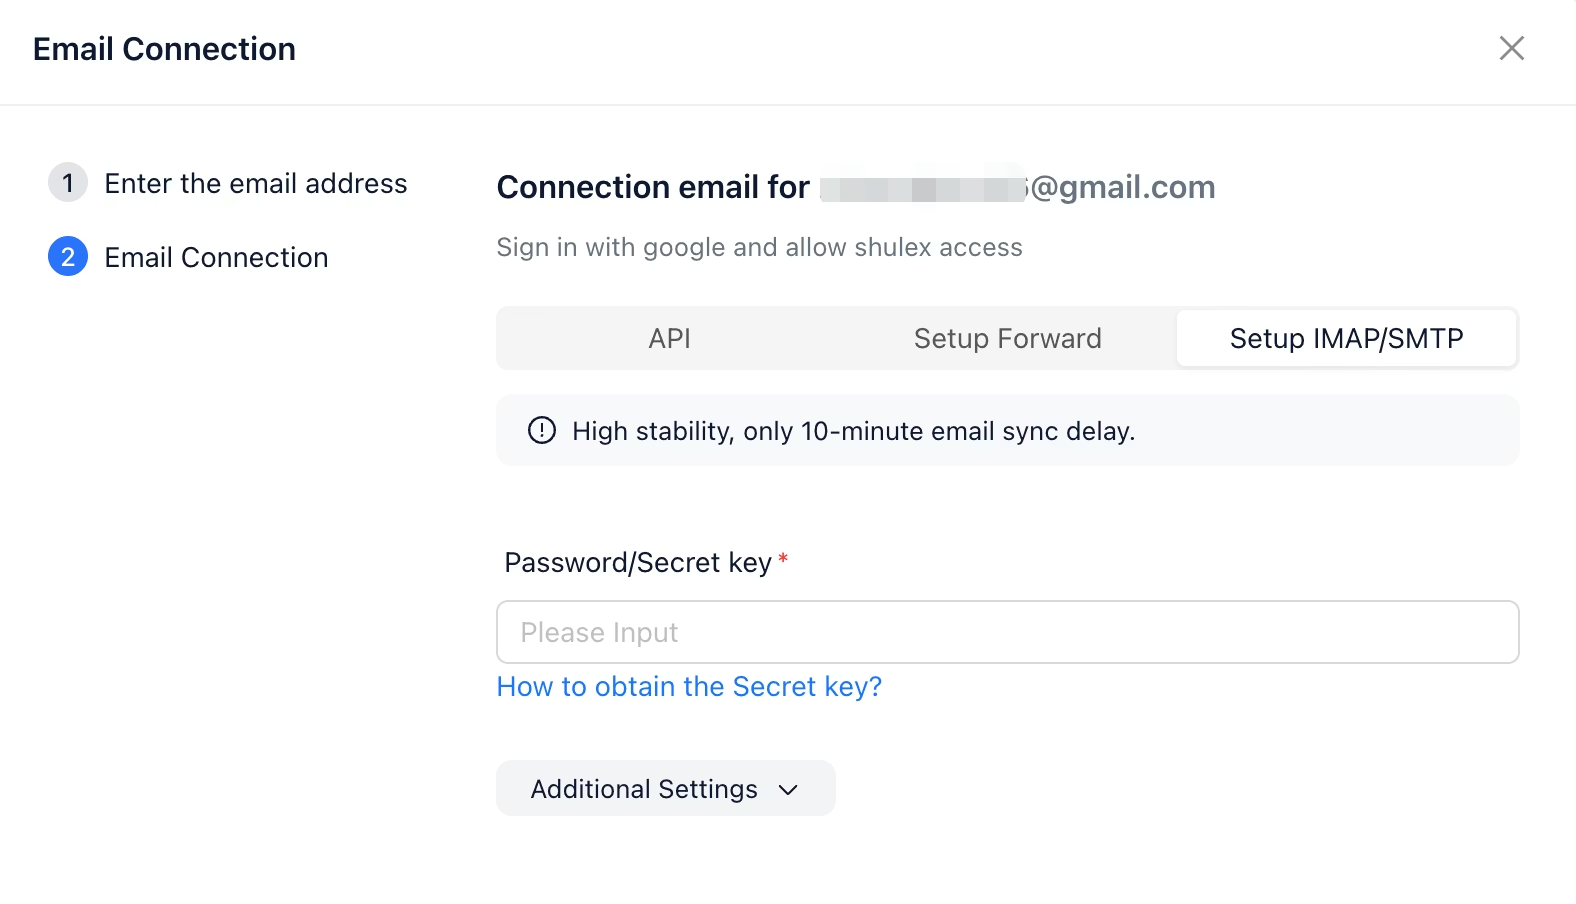
Only one email address can be bound.
Getting Started
-
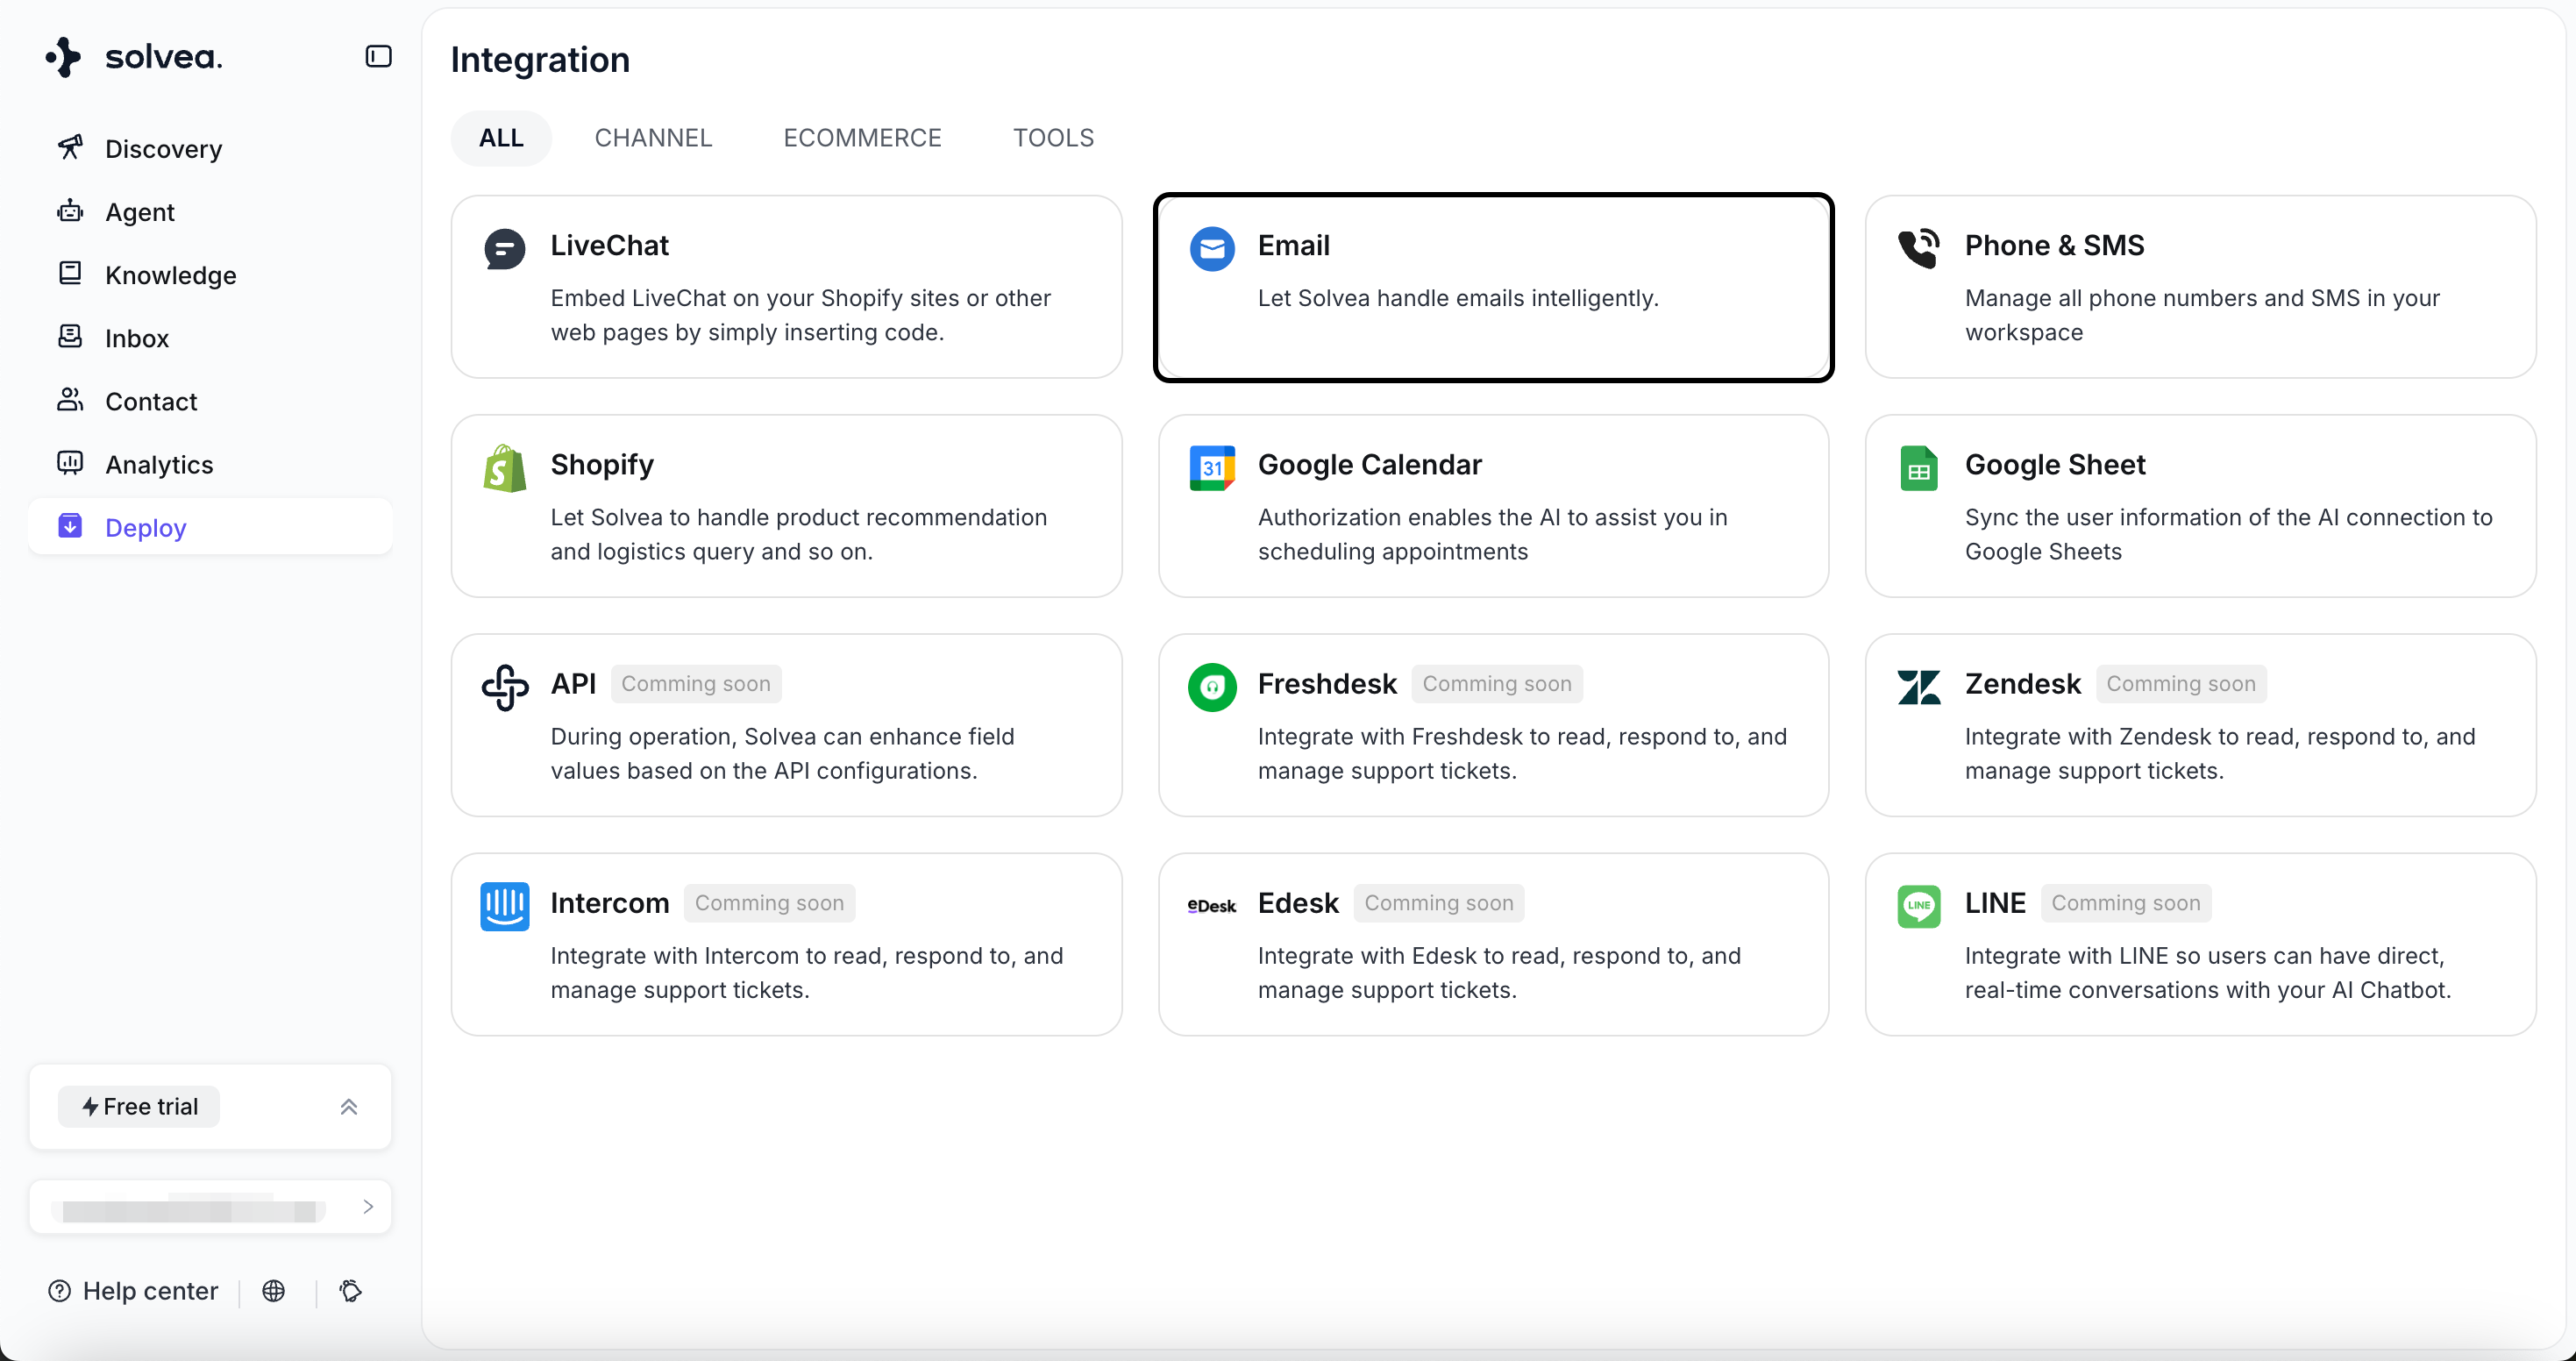
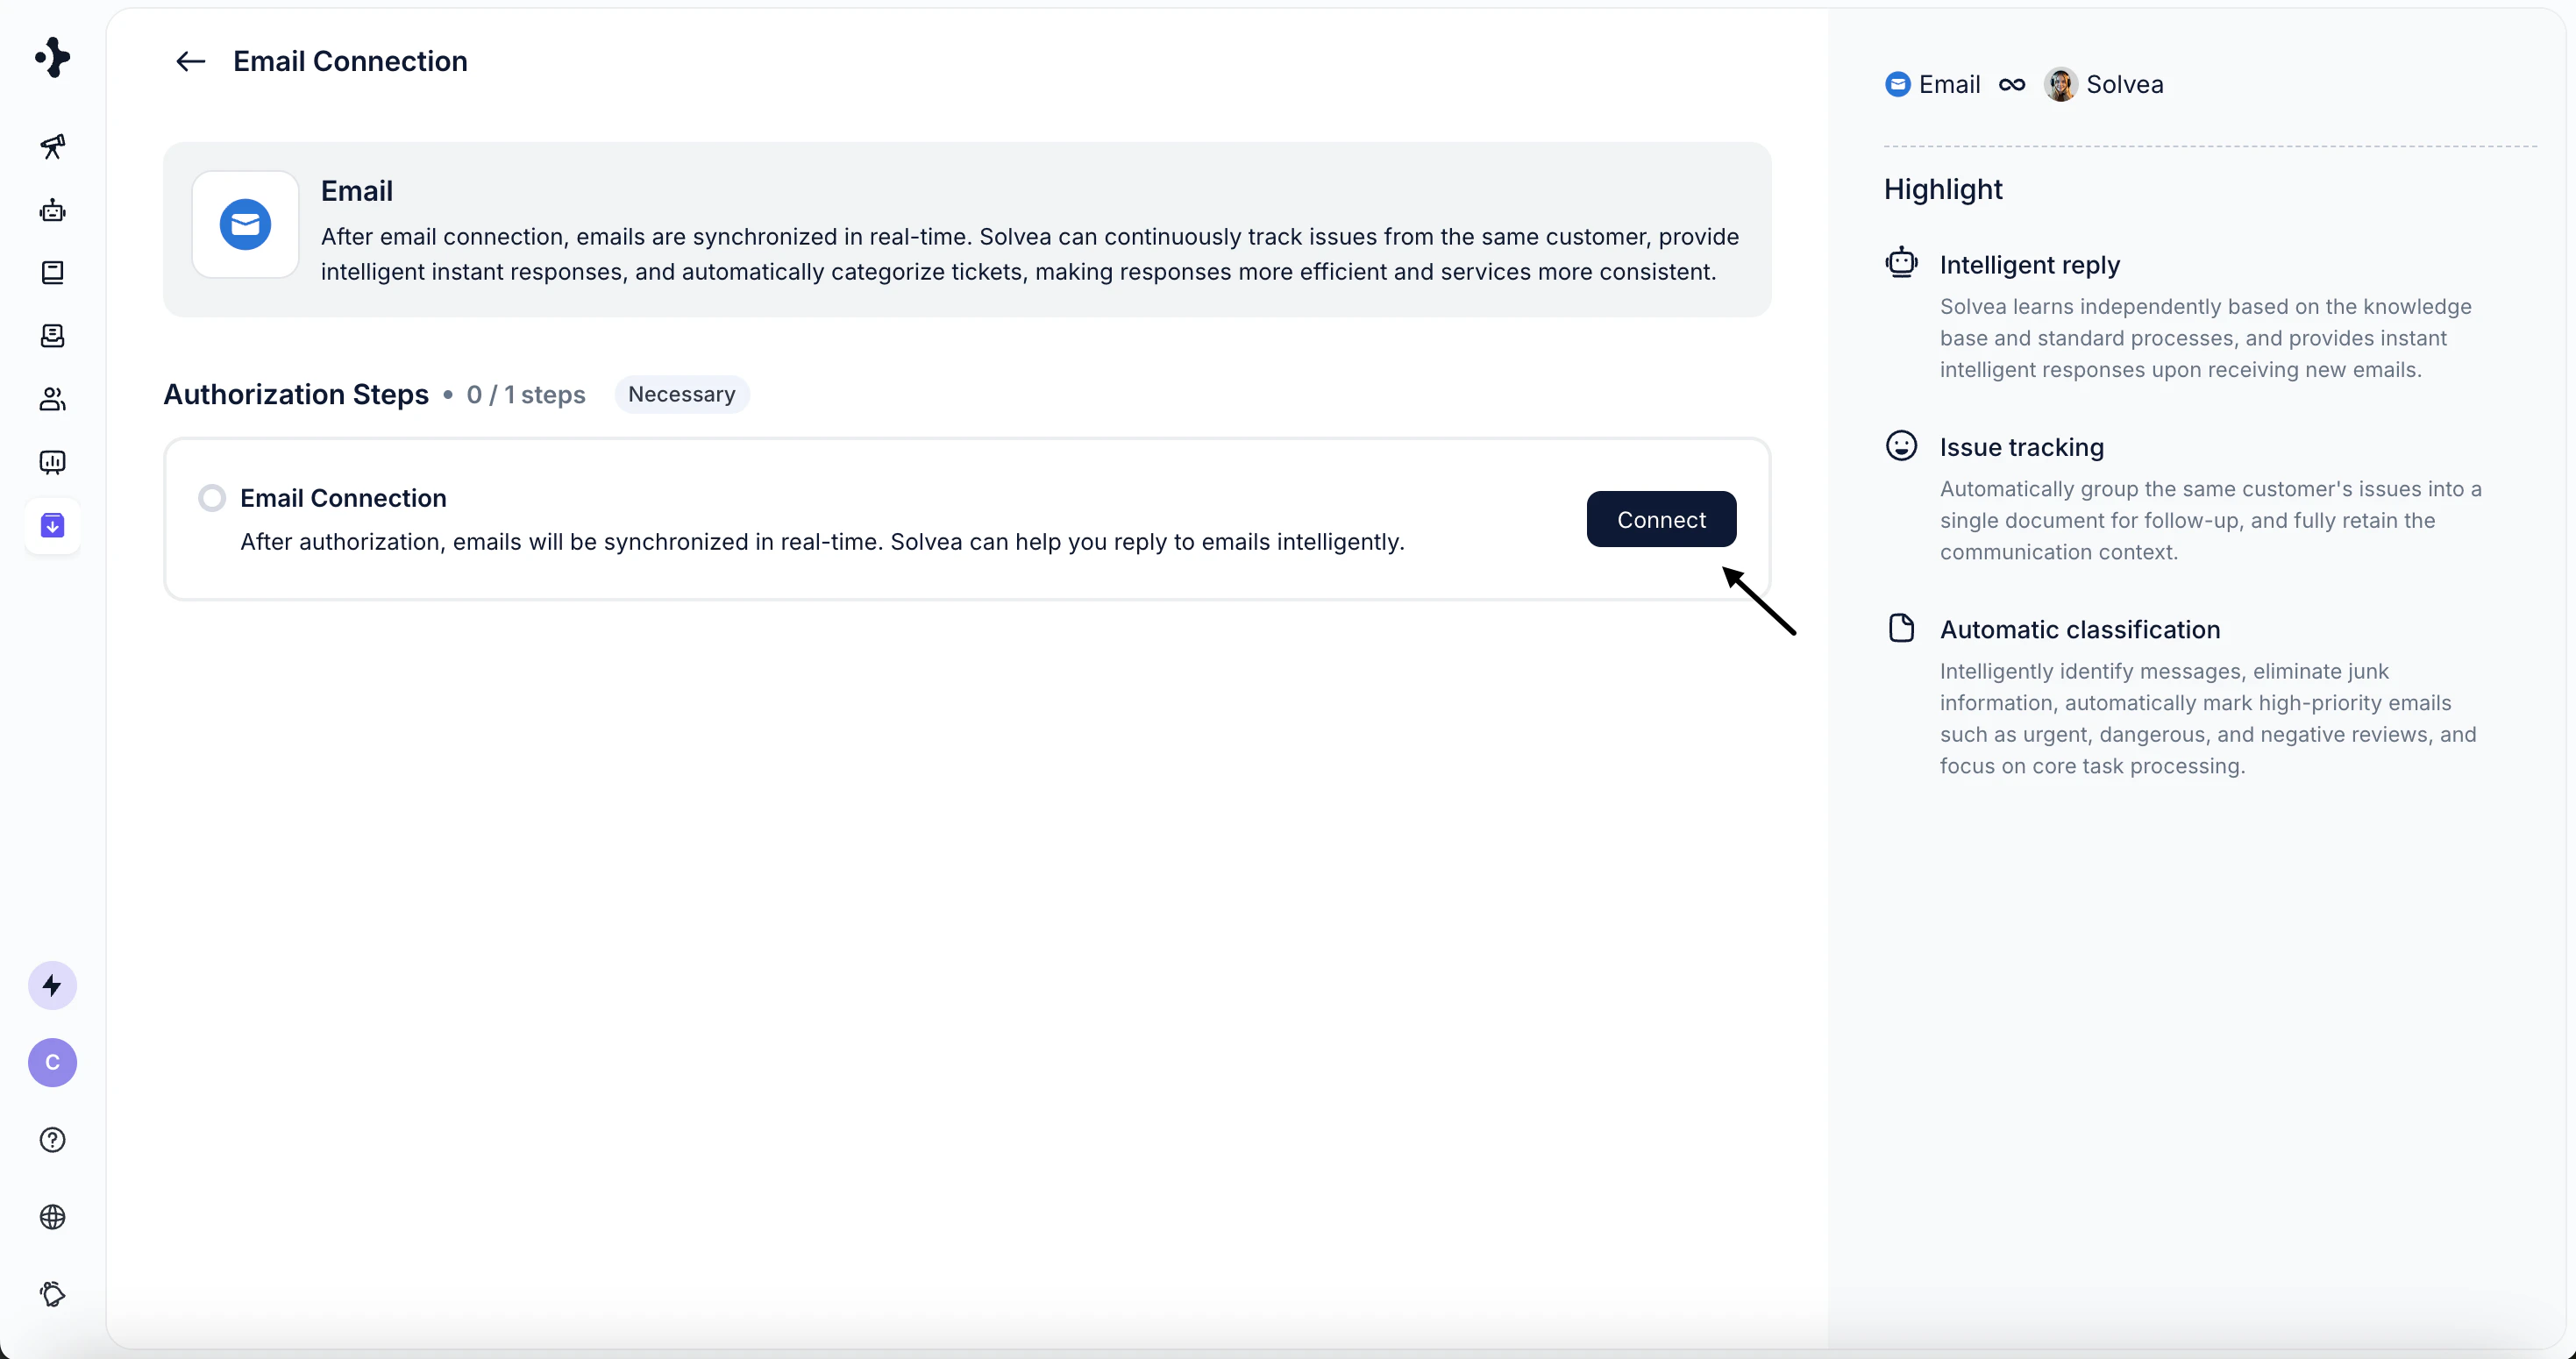
Go to Deploy -> Email -> Email Connecttion -> Click Connect
-
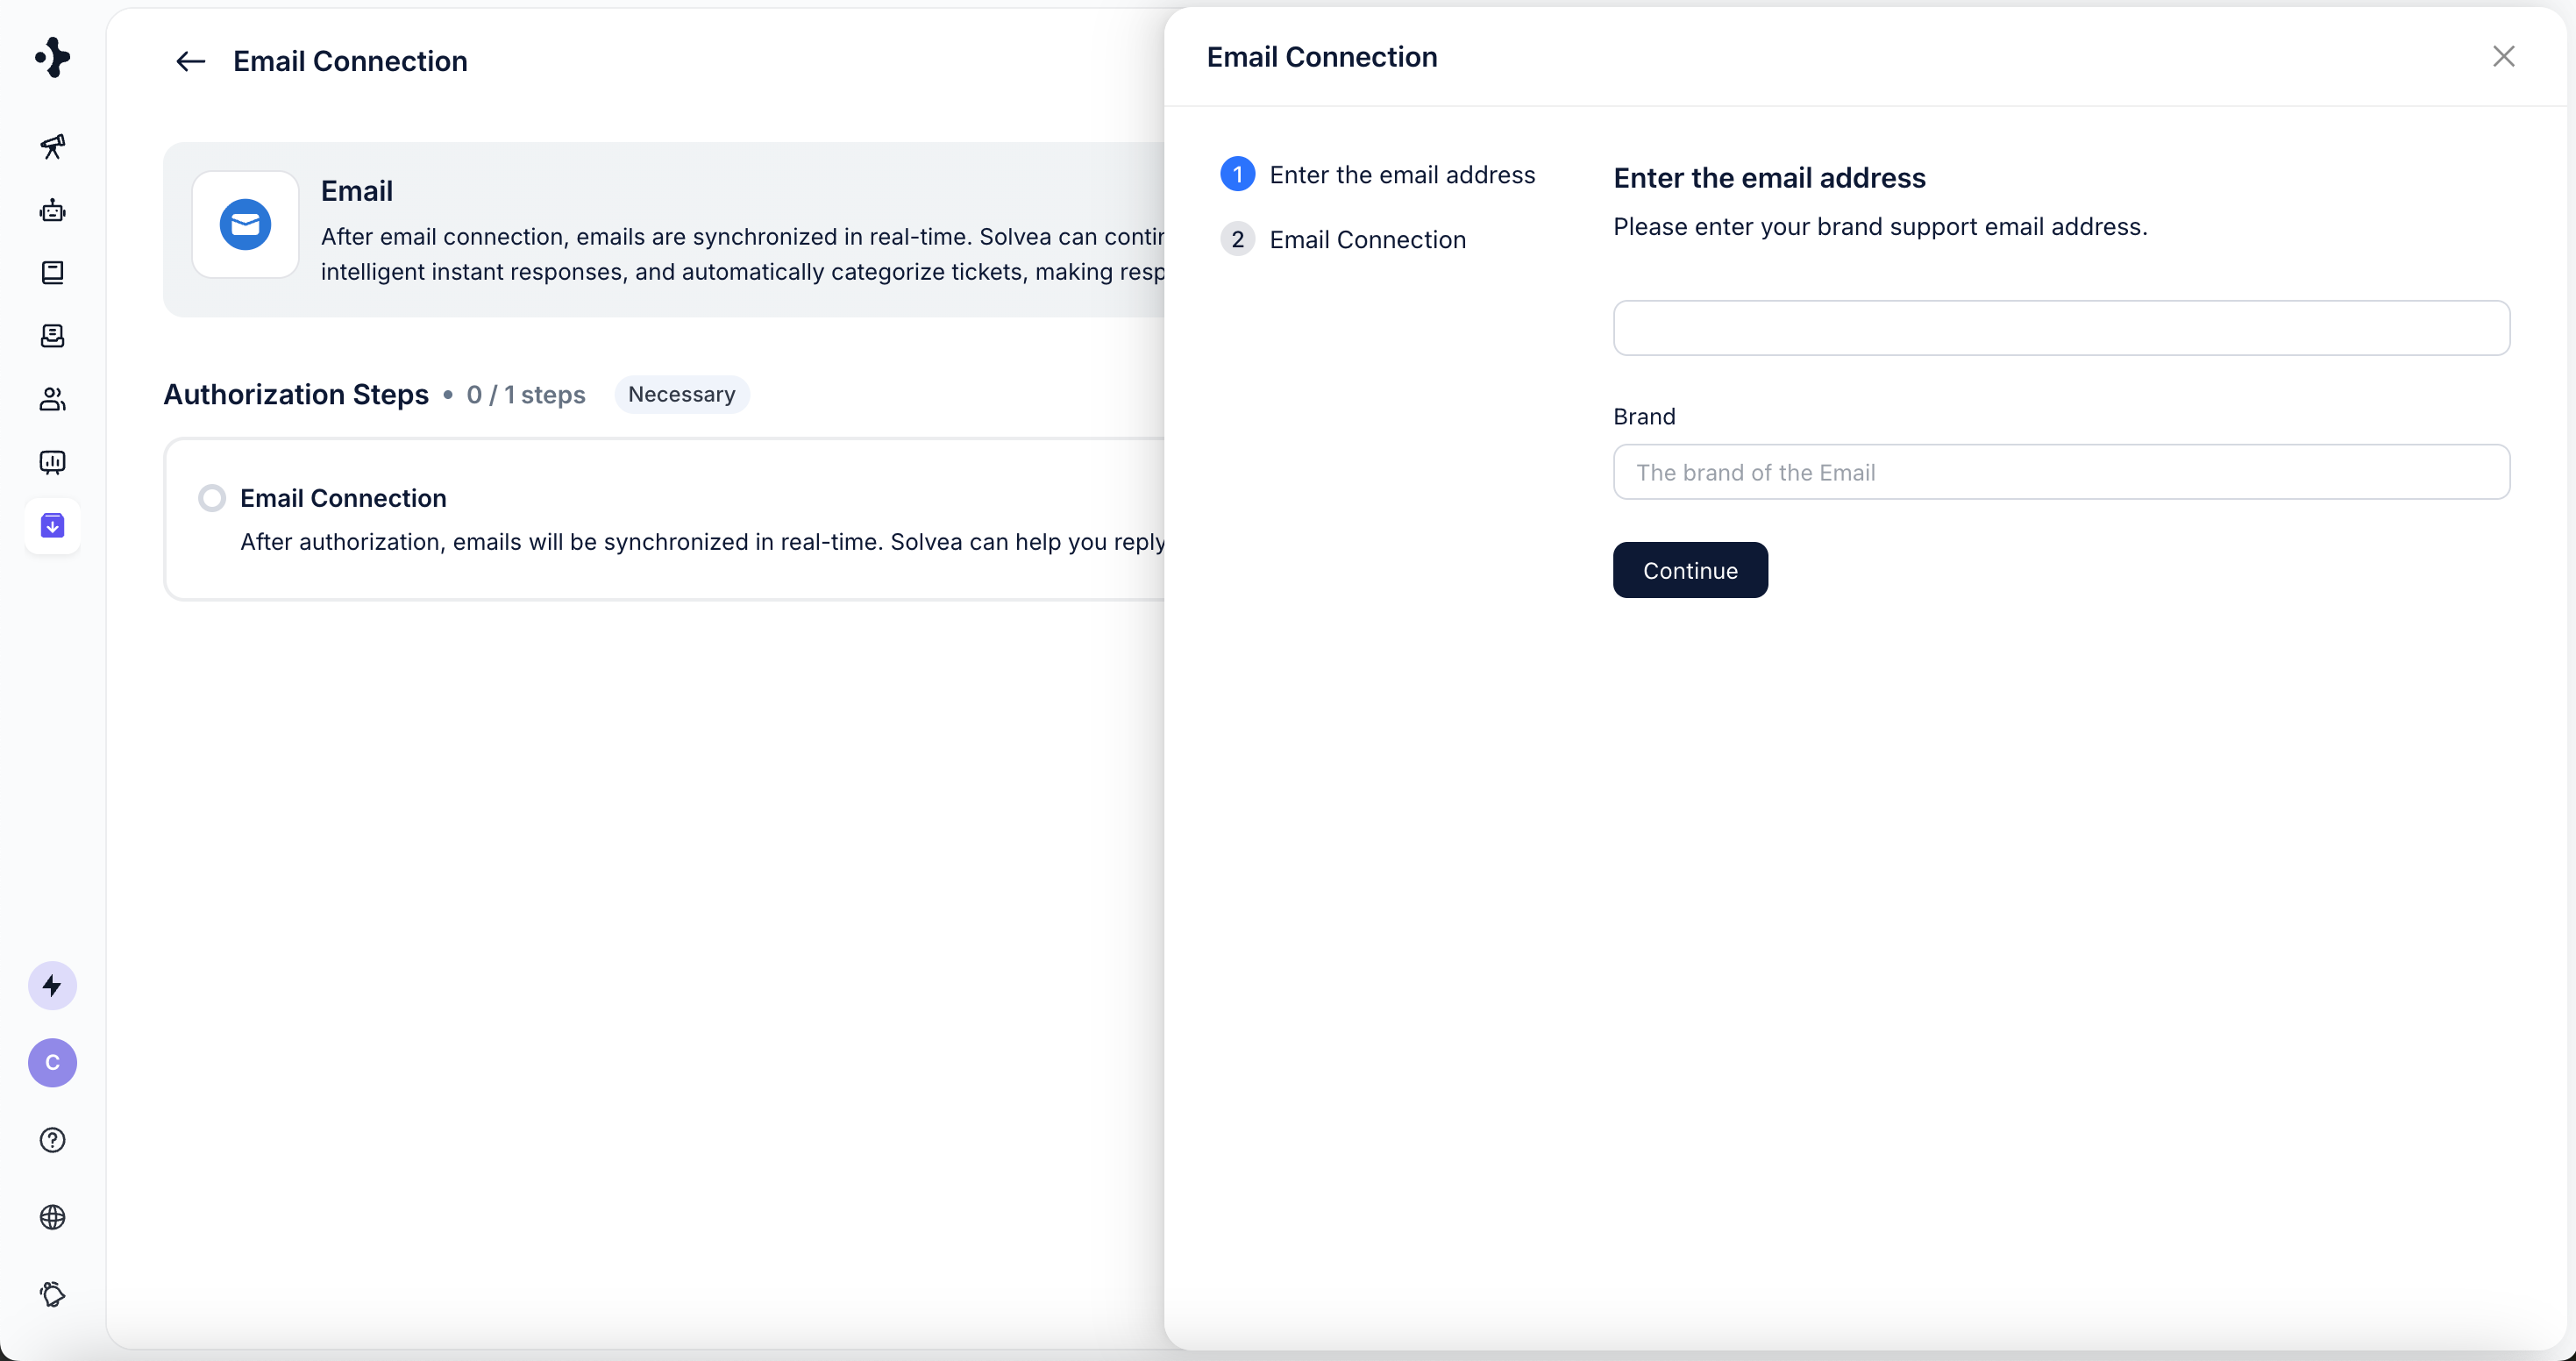
Enter your email address and the Brand, then click Continue.
Brand (optional): Brand name is for labeling your support email.
-
Complete the authorization process.
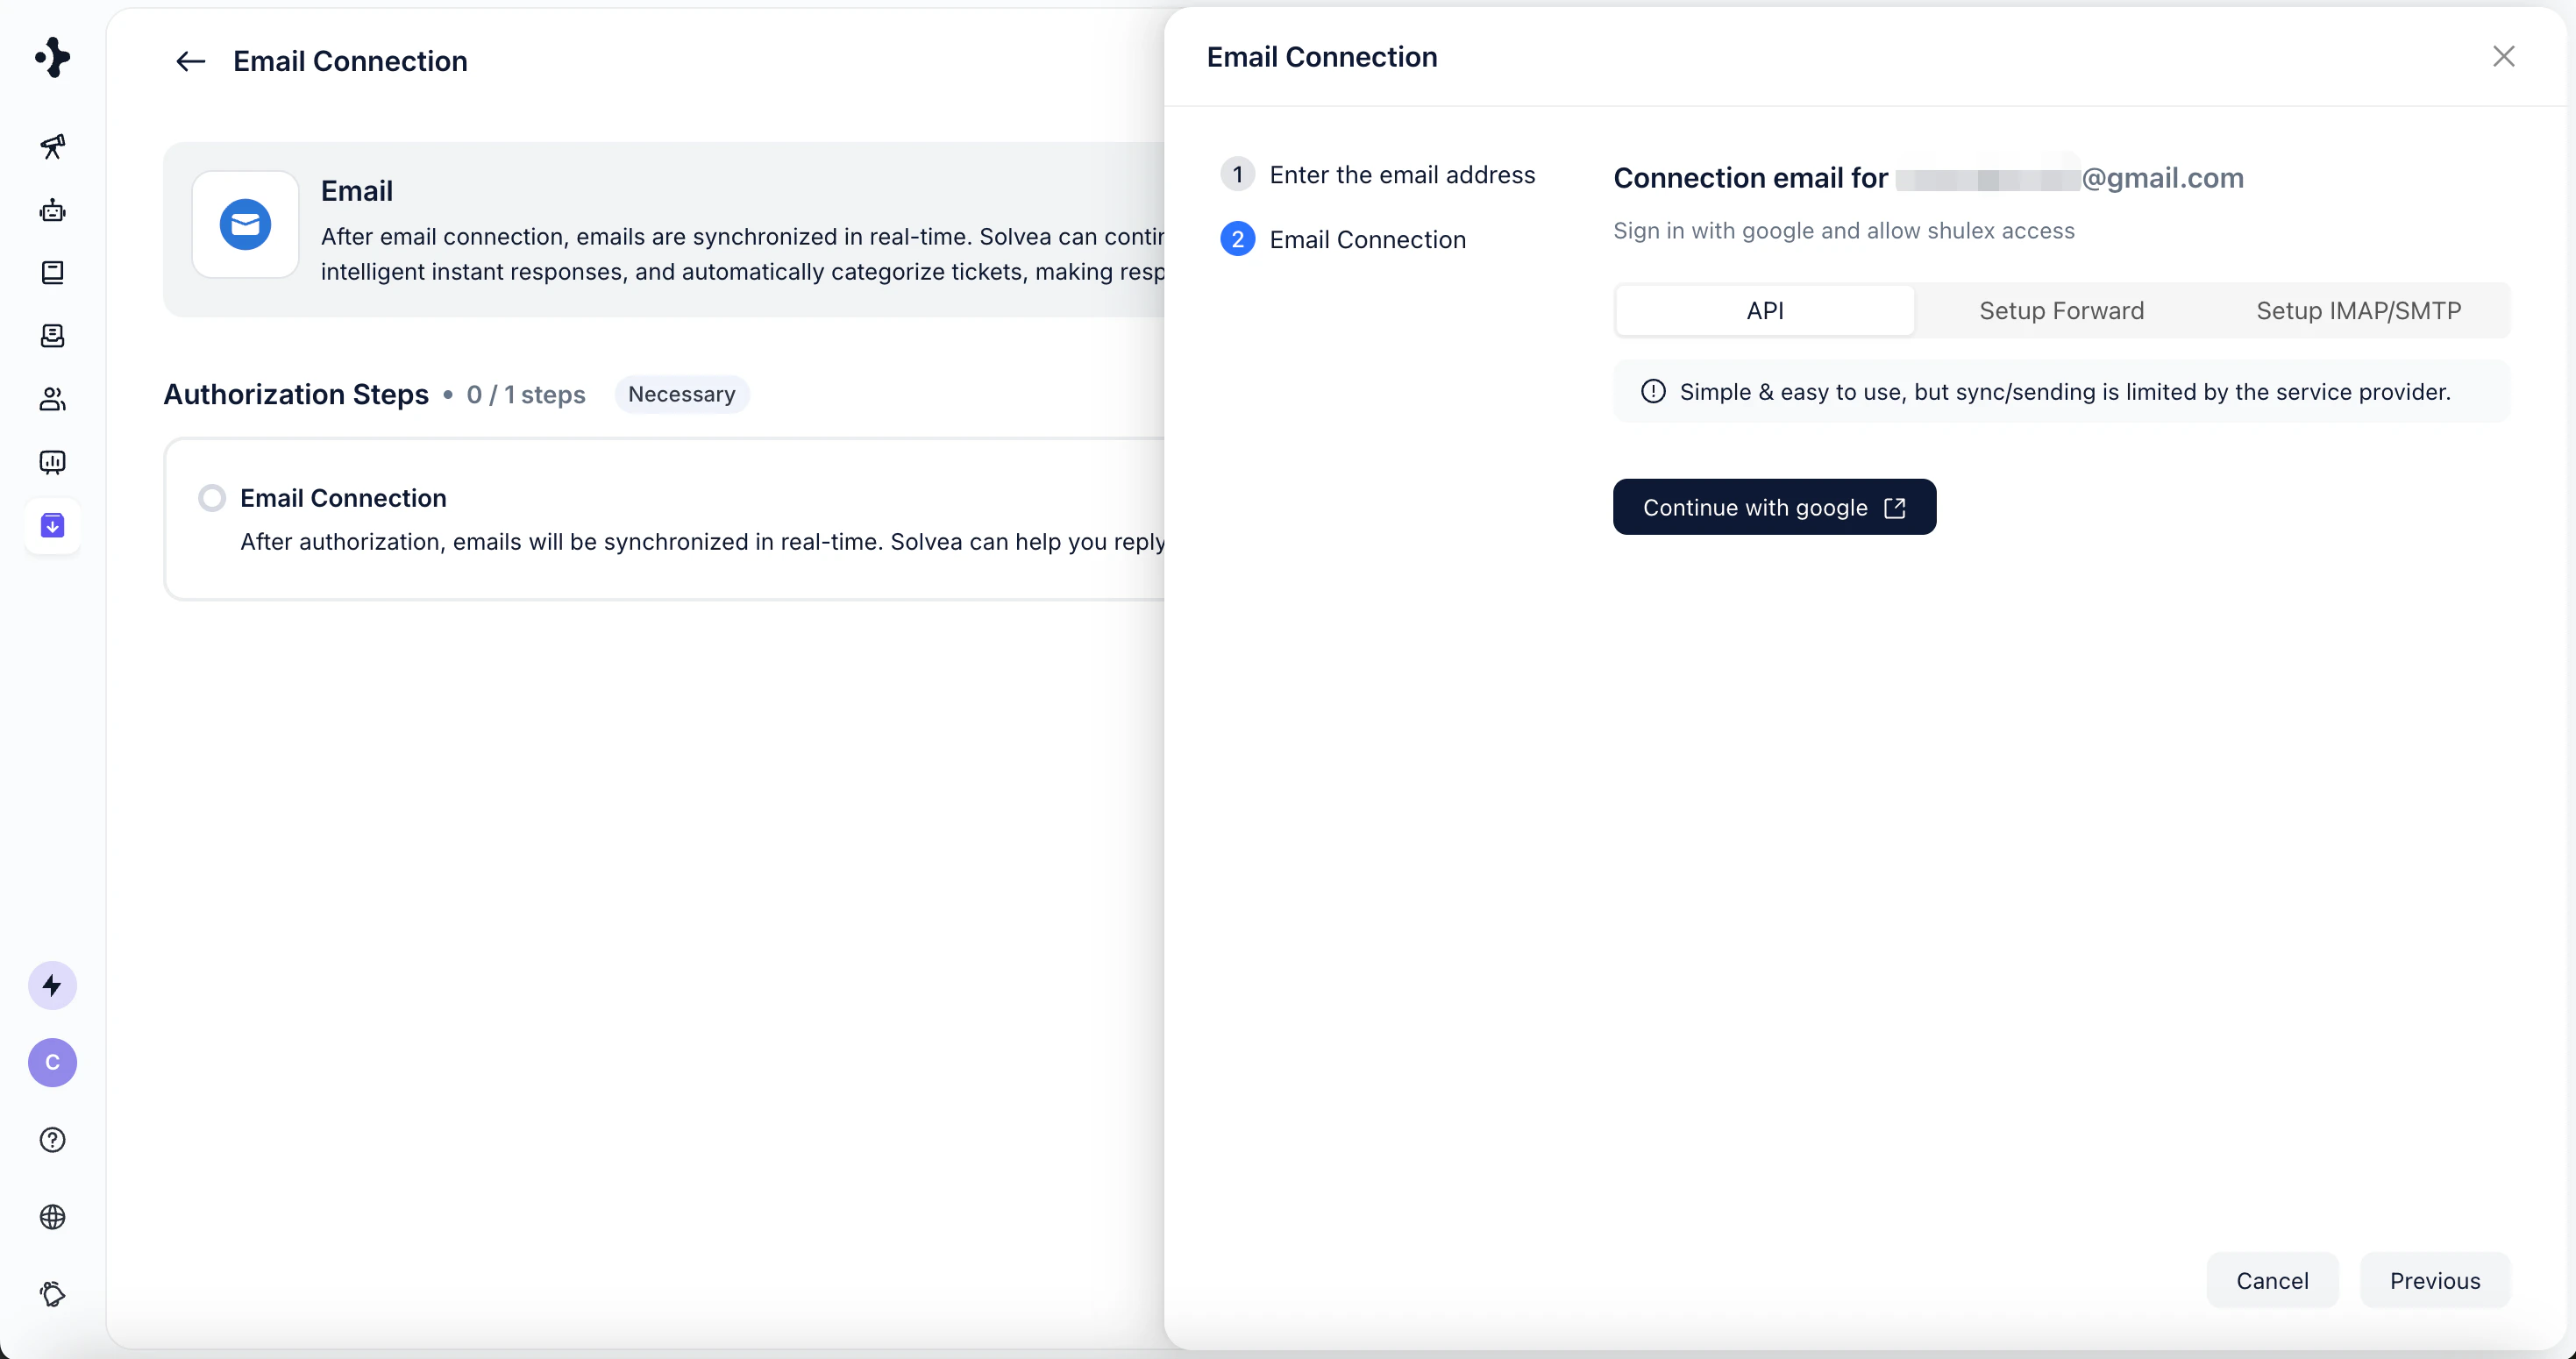
Recommended but not required:Configure all available authorization methods.
Solvea will automatically use the most stable method for sending and syncing emails.
Authorization Methods
Solvea supports three authorization methods, each with different characteristics:
Steps
One-click authorization via your email provider.Steps:
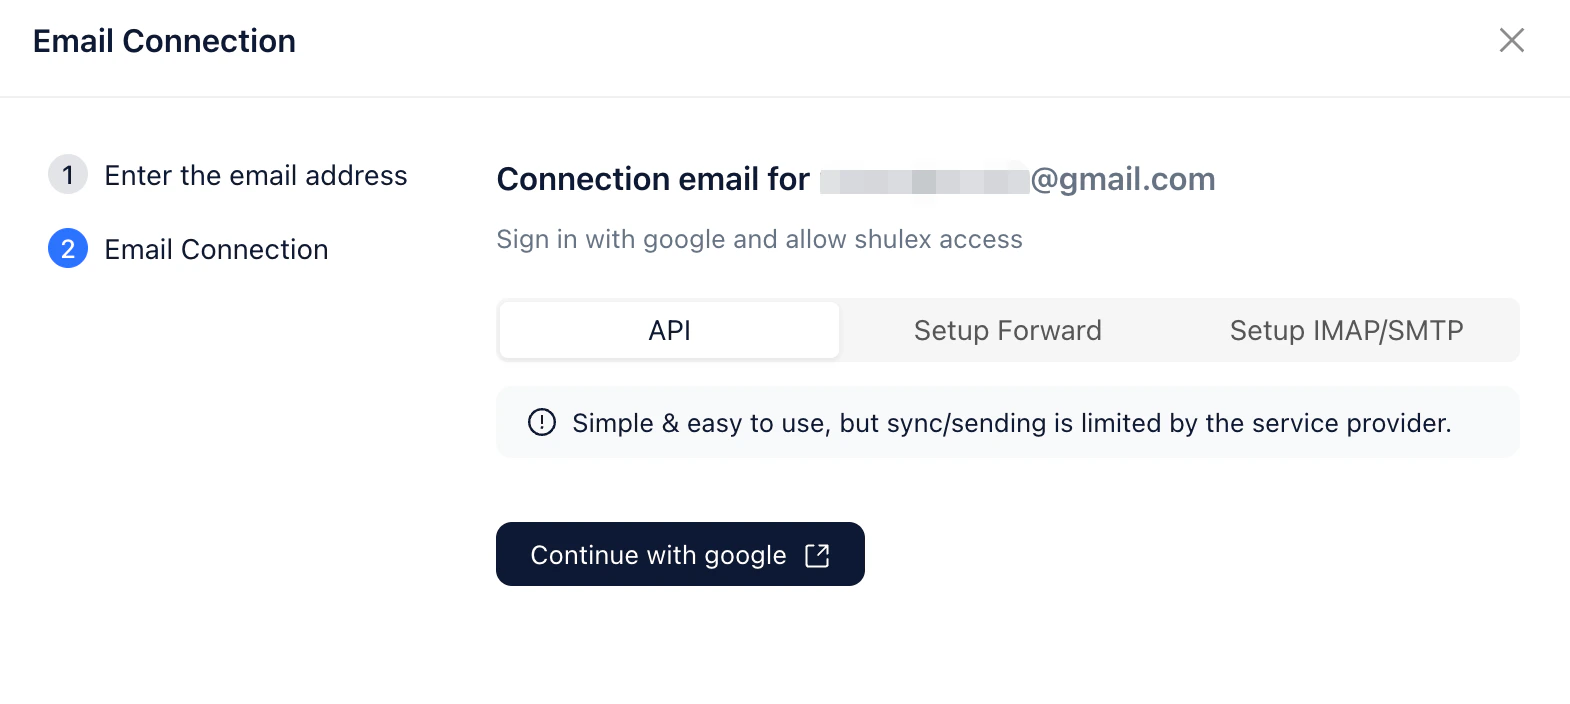
- Click the authorization button.
- You will be redirected to your email provider.
- Confirm access to complete the authorization.
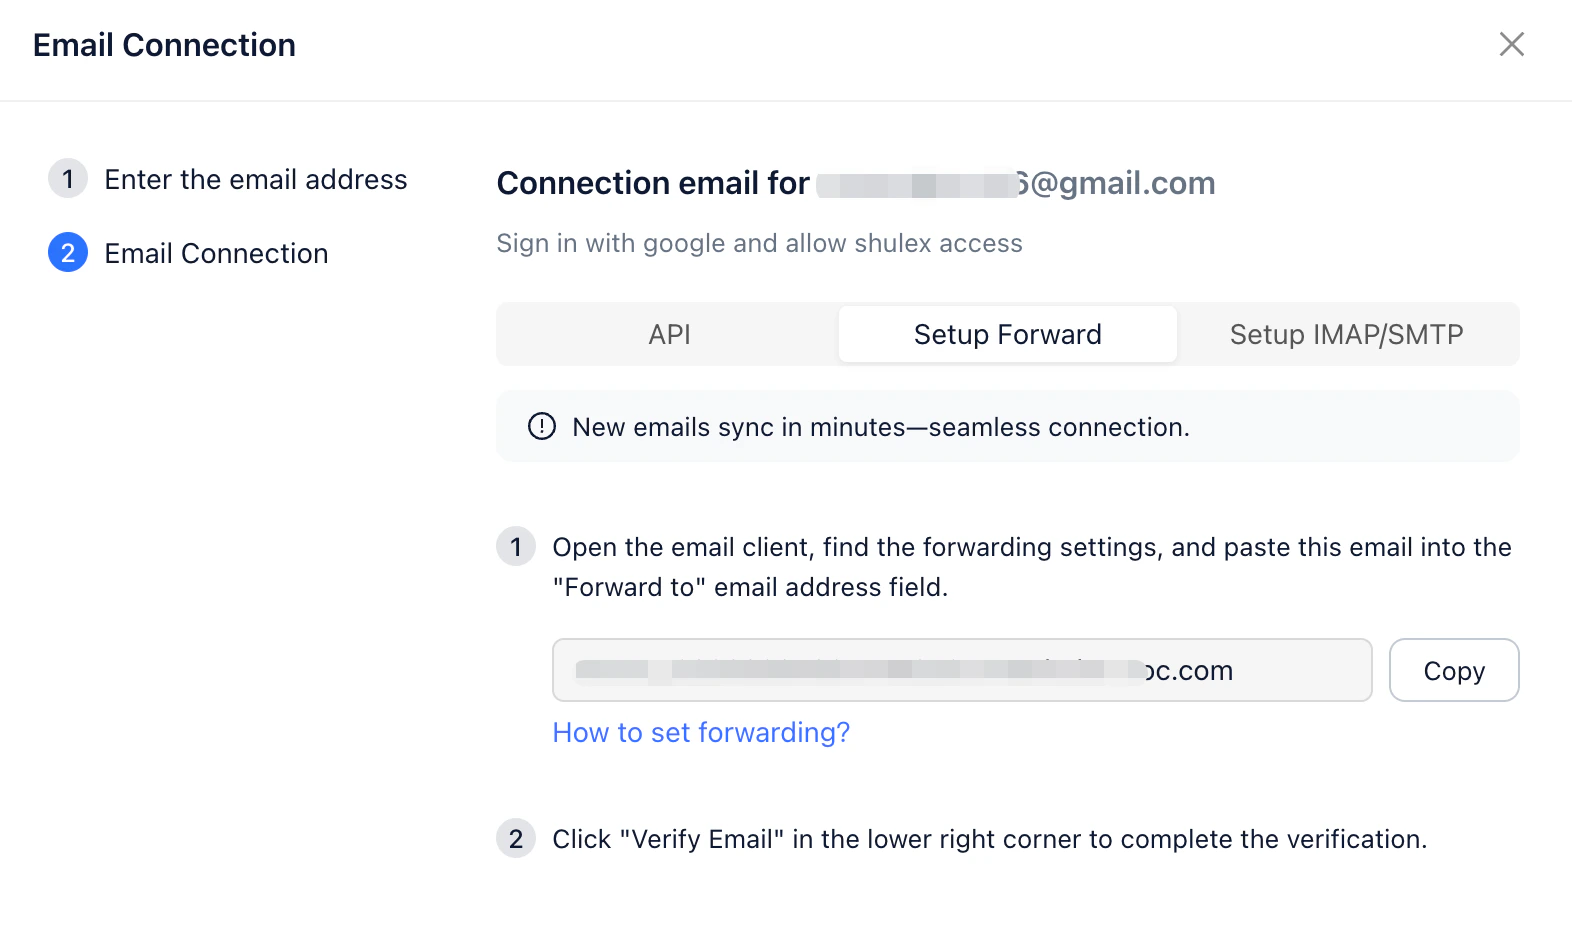
This method forwards incoming emails to Solvea for processing.Steps:
- Copy the forwarding email address provided by Solvea.
- Open your email client and locate the forwarding settings.
- Paste the copied address into the “Forward to” email field.
- Return to this page and click Verify to complete authorization.
This method connects Solvea directly to your mailbox.Steps:
- Enable IMAP/SMTP in your email client.
- Generate an email authorization code.
- Return to this page and enter:
- Authorization code
- IMAP/SMTP server configuration
- Click Confirm to complete the authorization.
📌 Example: Gmail Authorization
Recommended Authorization by Email Provider
Gmail & Outlook
- Complete API Authorization first.
- Optionally add Forwarding or IMAP/SMTP authorization as needed.
Other Email Providers
- Use Forwarding or IMAP/SMTP authorization.