

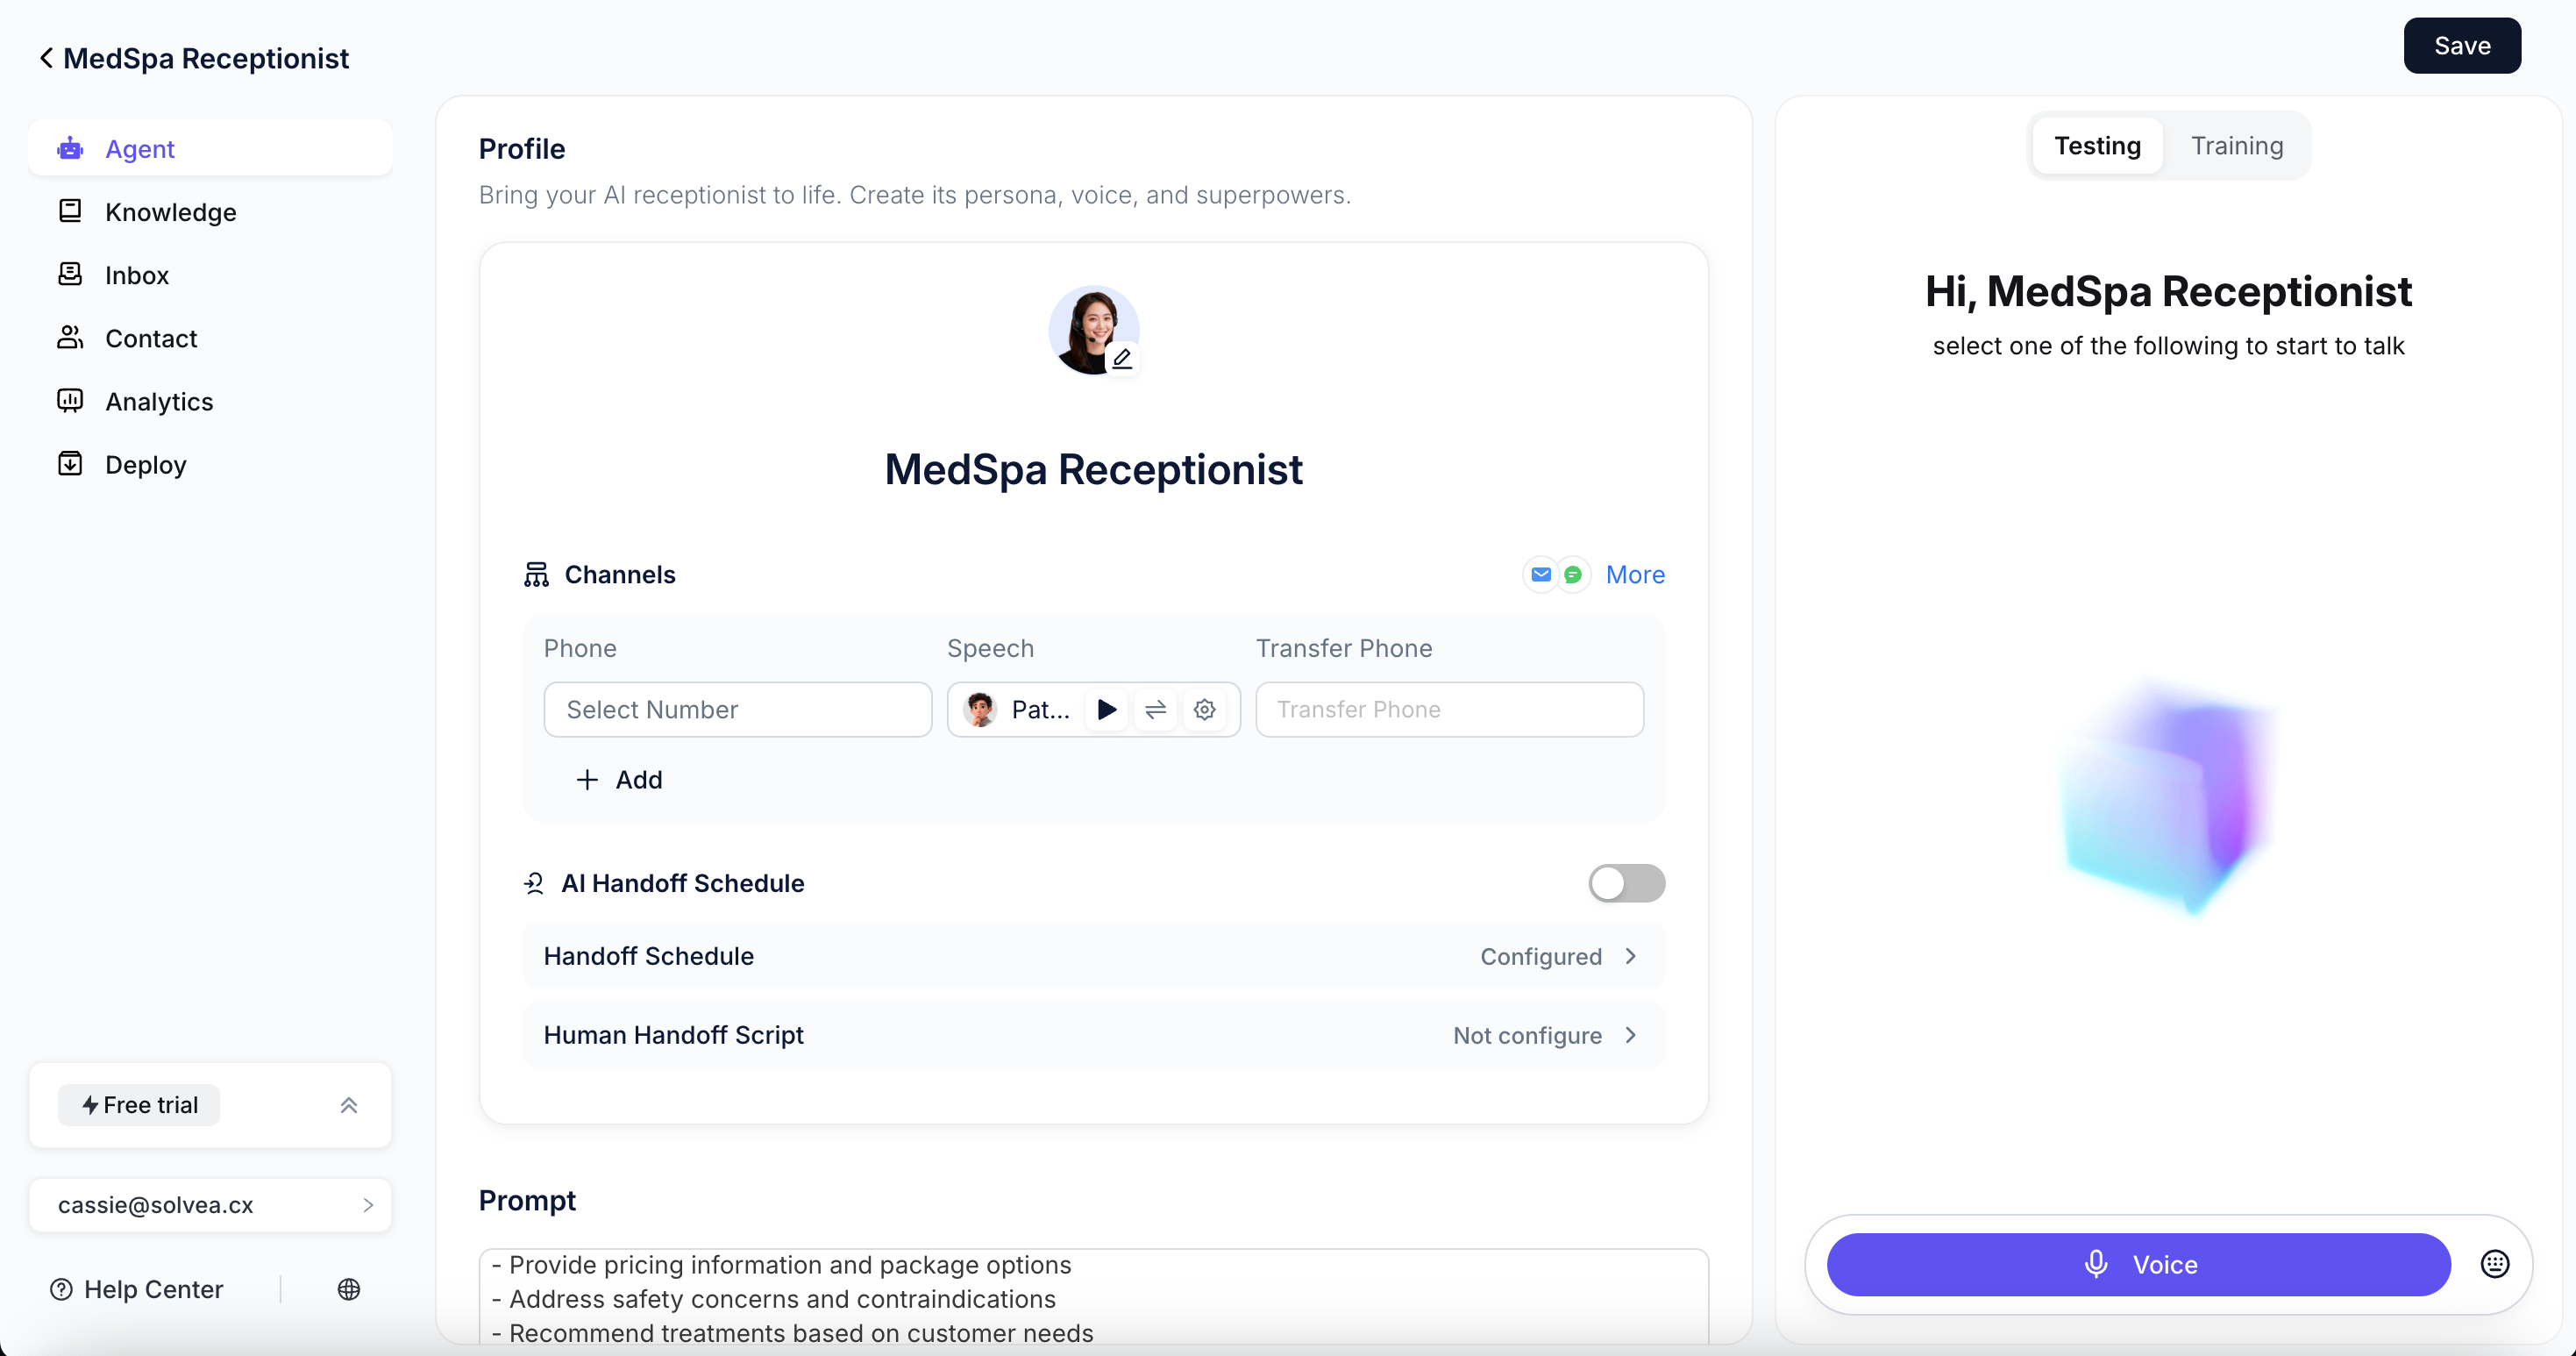
Step1: Profile Settings
Name and Avatar
Upload an avatar and set the agent’s name.We recommend using your business or brand name as the agent’s name.

Channels
By default, an AI agent can handle conversations via Voice.You can assign a phone number and configure the agent’s voice directly from the Agent page.

Set the agent’s phone
Assign a phone number to your agent so customers can reach it via voice calls.Learn more: How to add a phone number
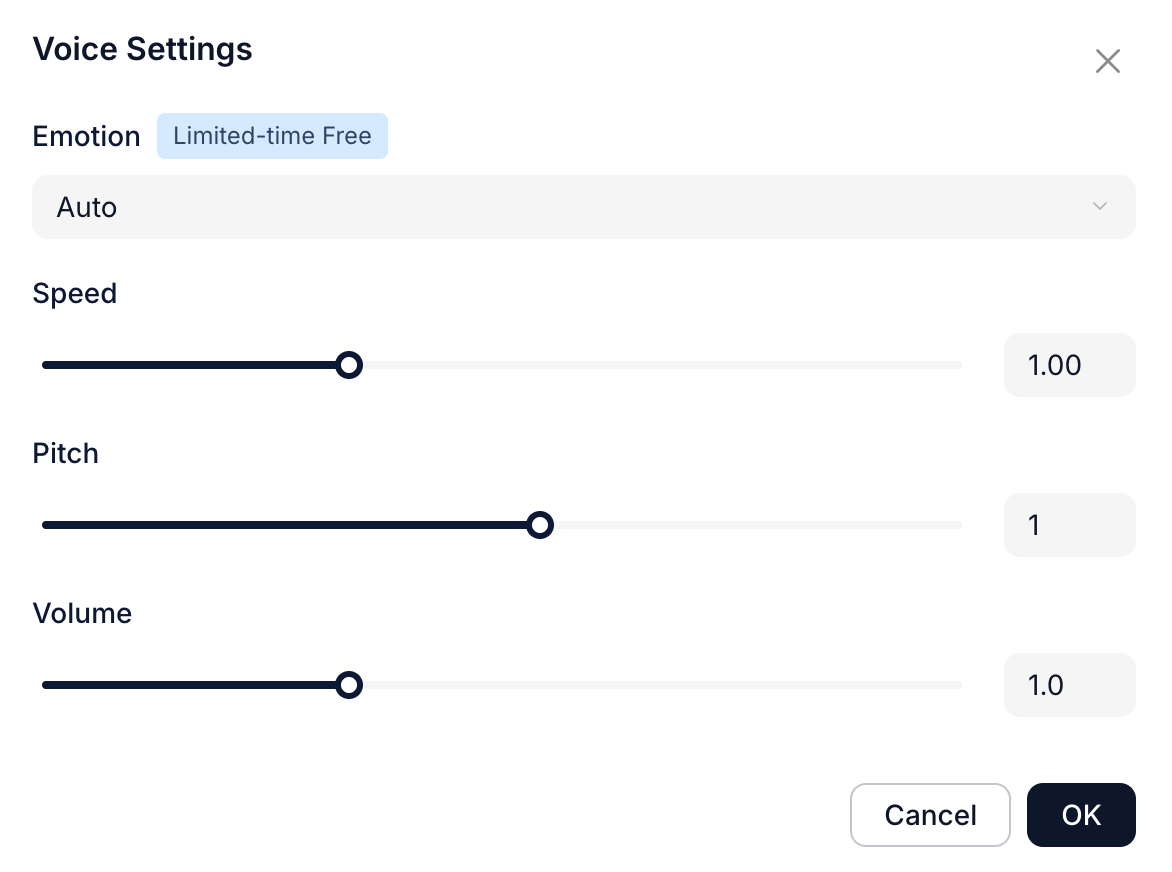
Set the agent’s language and voice
We offer voices in various languages and genders. Select a voice, then adjust the sound settings.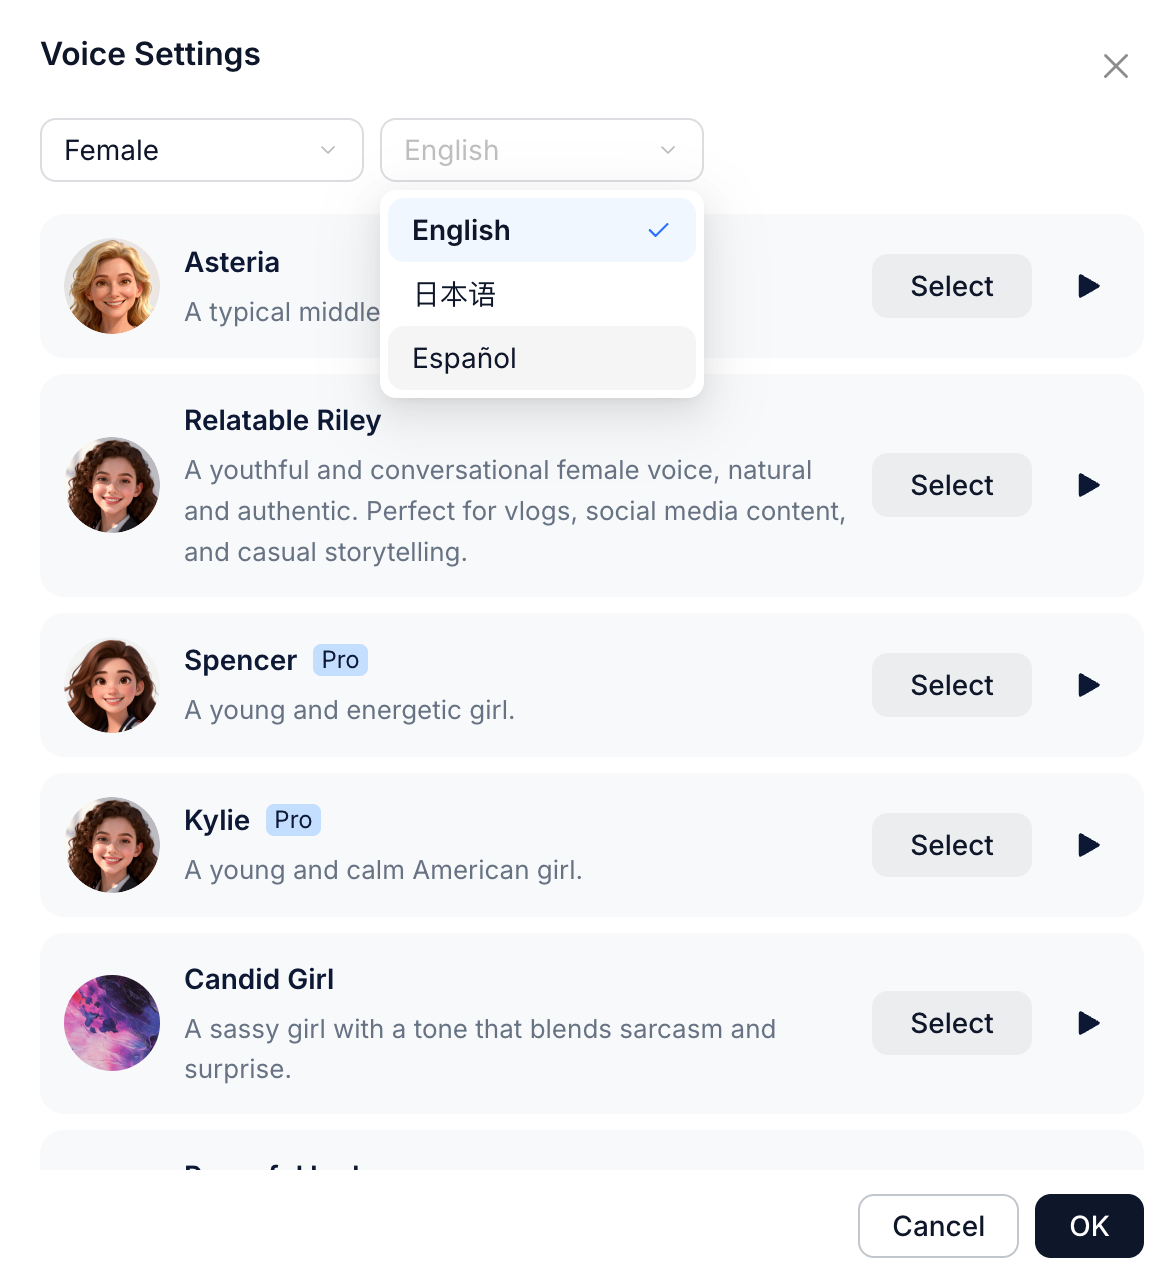
AI Handoff Schedule
Define when and how the agent transfers conversations to a human. You can configure different handoff messages based on whether a human agent is online or offline.If this feature is disabled, the agent will follow the handoff logic defined in the agent prompt.


Step2: Task Configuration
Prompt
Write a structured agent prompt to define behavior and task logic. Use “/” to insert knowledge references, handoff actions, or tools.

Knowledge Access
Enable knowledge-based responses and add “retrieve_knowledge” tool in the Prompt.
Tools
All tools referenced in the prompt will appear in the Tools list. You can add the following 5 tools:- Logistics_inquiry: Get logistics information with tracking numbers.
- google_calendar: Check availability, as well as creating, editing, and deleting events.
- google_sheet: This tool allows reading and editing spreadsheets.
- send_email: Send emails to customer automatically.
- shopify: Retrieve detailed order information using the order number, including tracking numbers, product details, and more.

All tools except the logistics_inquiry tool need authorization—just follow the guide to jump and complete it in one click.See Deploy Overview for tool details.

Step3: Performance Settings
Configure how the agent performs across different channels.- Voice & Chat
- Email
-
Greeting Message
Customize the opening message for calls and chat conversations.

Step4: Save and Publish
Click Save to publish the agent. All changes will immediately take effect, and the live agent will operate based on the latest published version.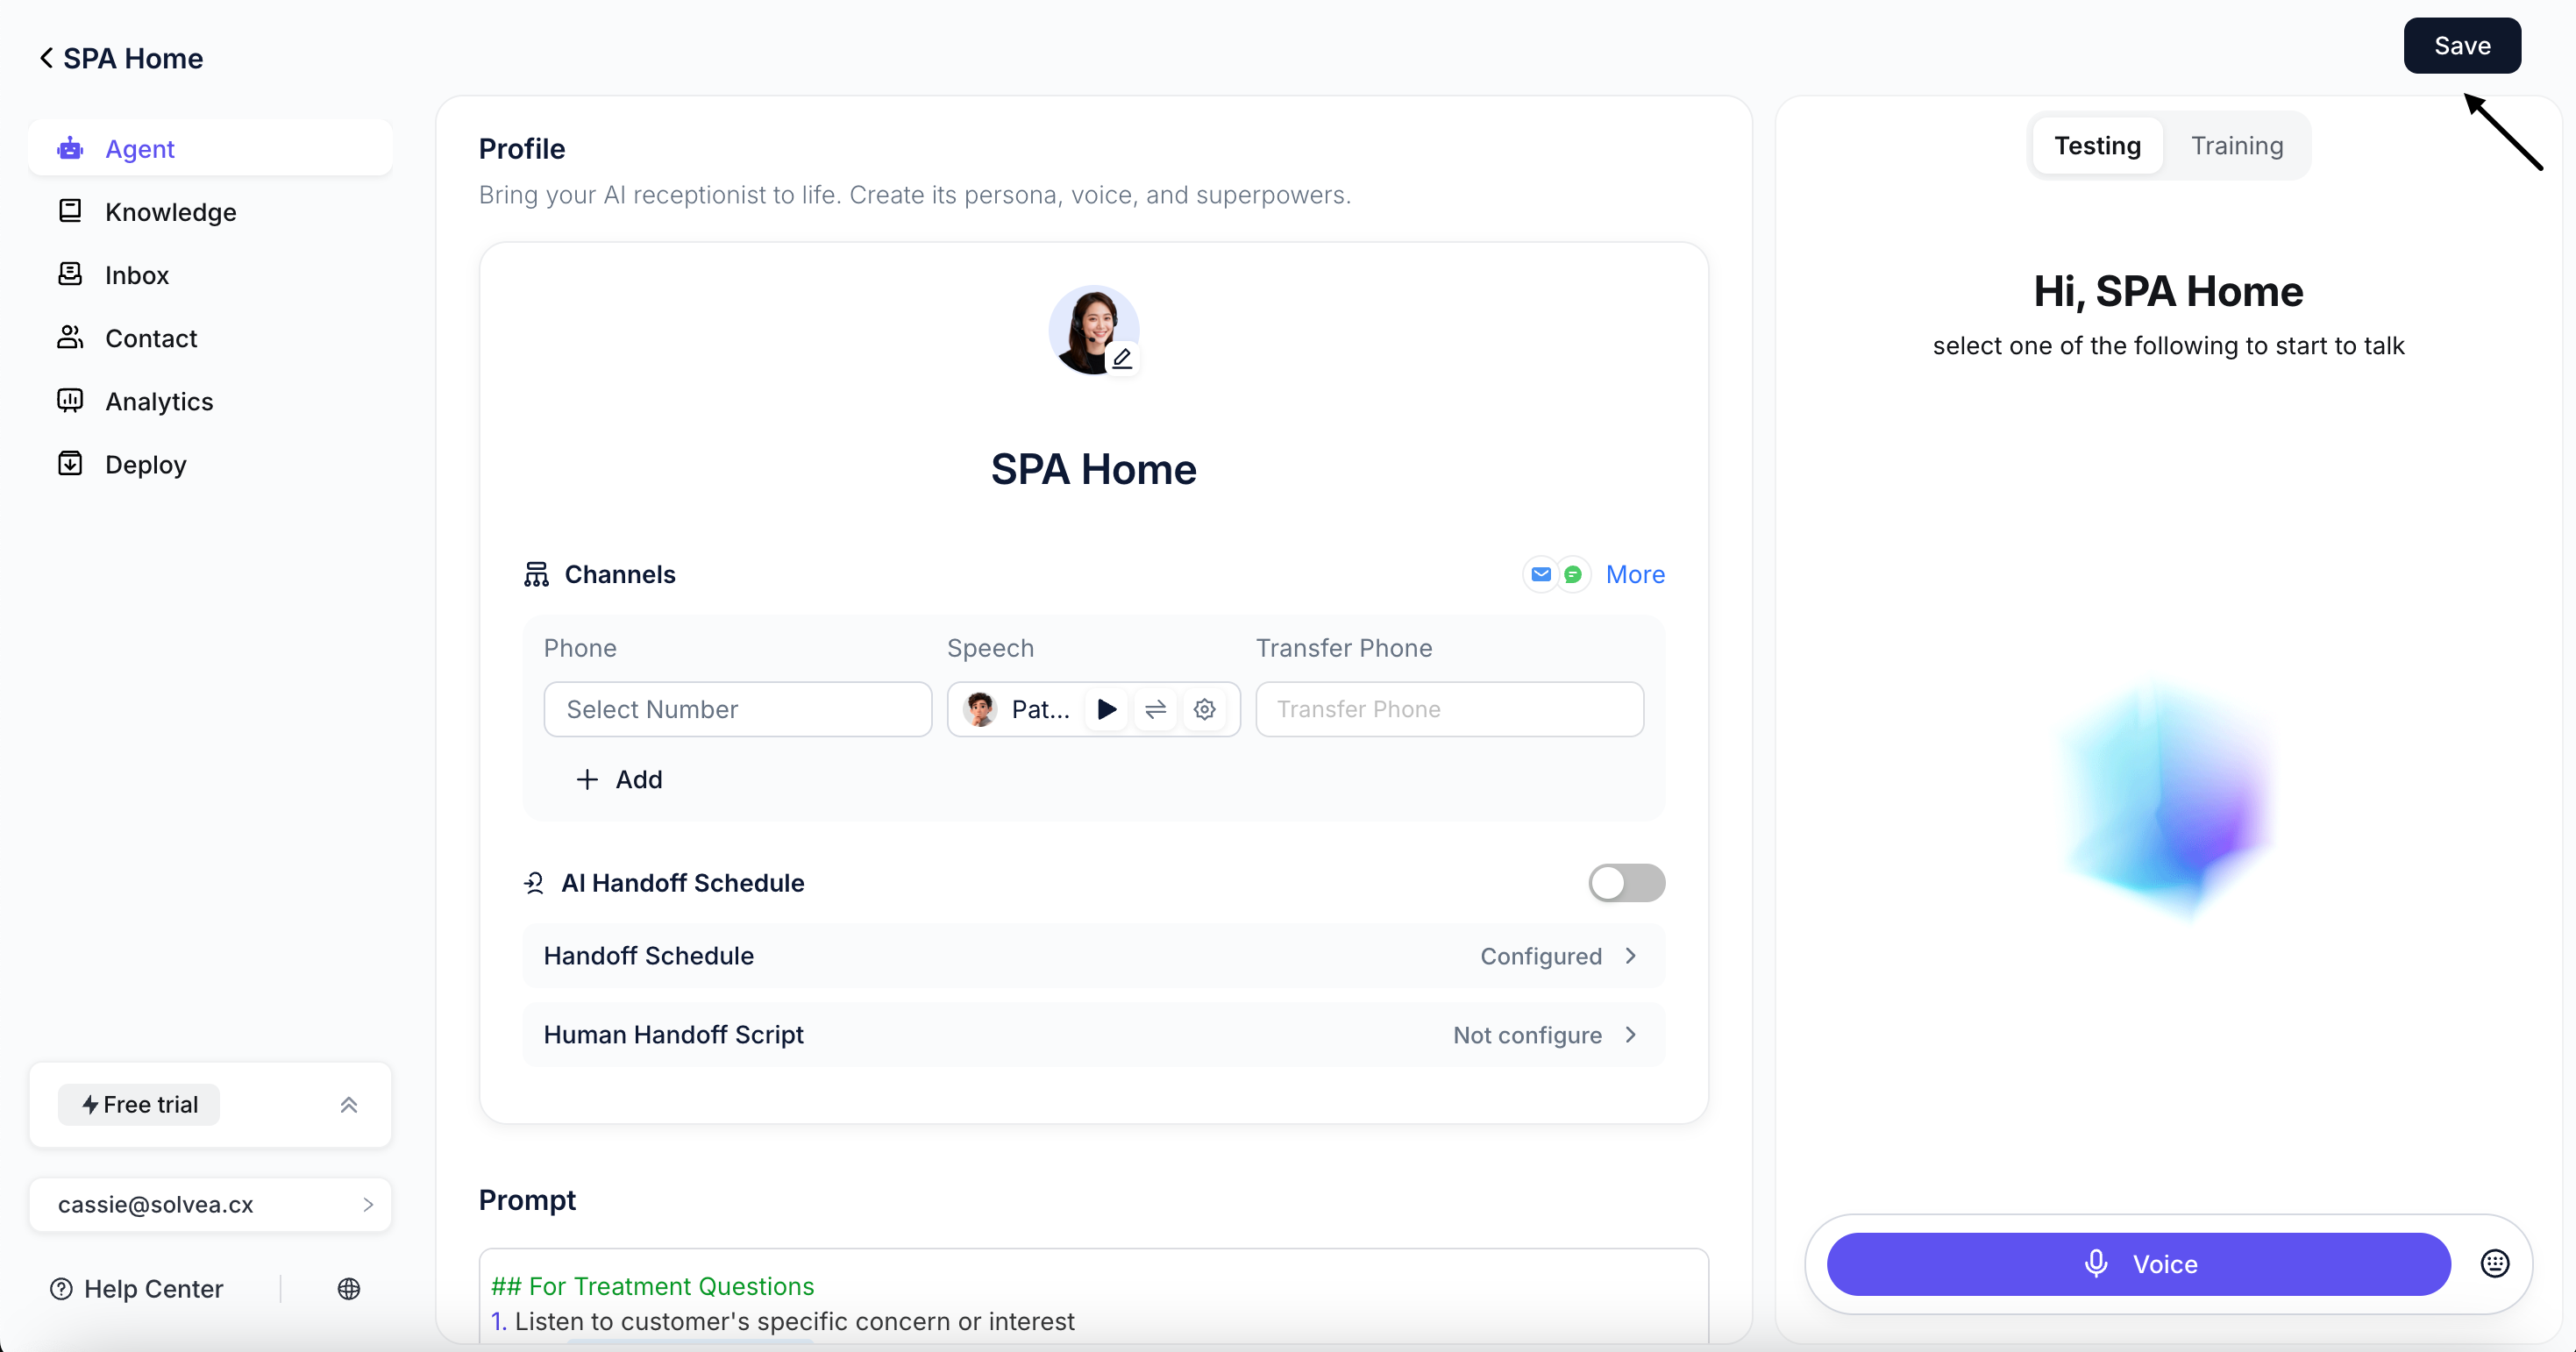
Agent Version History
Each time you click Save, a new agent version is created. You can view a complete record of all your previously created Agents for easy tracking, traceability, and iterative modifications.- Click History in upper-right corner to access the full list of your historical Agents.
- Agents labeled Published are the active versions running in your production environment.
- Select any historical Agent to switch the system to that version for editing.
All modifications will only take effect after you publish the Agent.