
Clawdbot, now Moltbot (clawdbot was renamed to Moltbot on January 27th for potential trademark dispute), is more than just a chatbot; it is a self-hosted agentic framework that can control your computer and automate your life. This guide will walk you through the detailed configuration process, from selecting your AI brain to connecting your messaging channels.
For a quick glance of the setup workflow, check the infographic below.
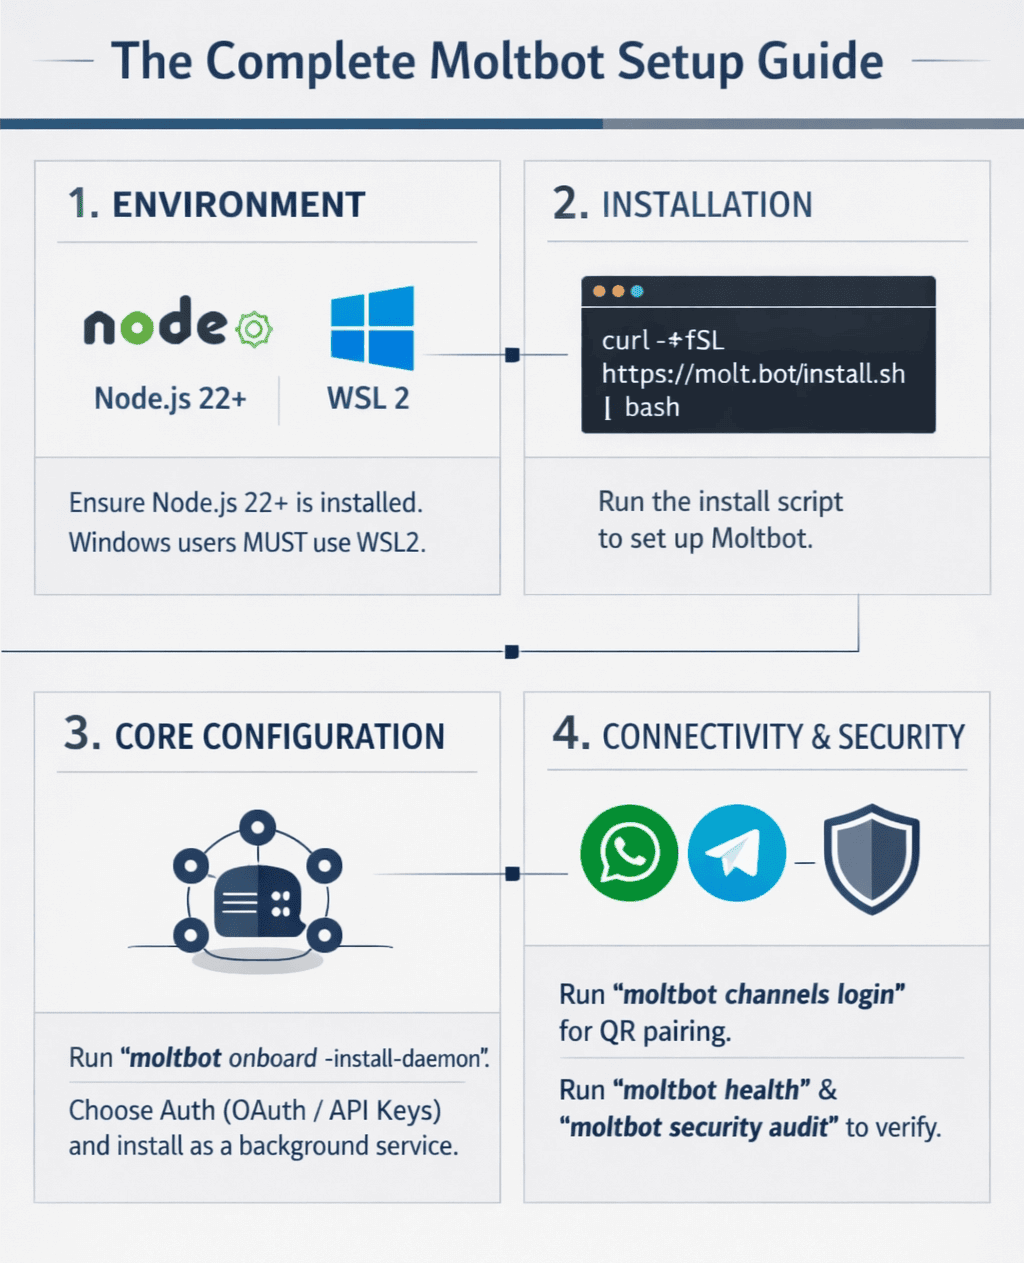
Step 1: Initial Installation
First, ensure you have Node.js (v22+) and Git installed on your machine. Open your terminal and run the following commands to clone the repository and install dependencies:
macos:
curl -fsSL https://molt.bot/install.sh | bash
windows:
iwr -useb https://molt.bot/install.ps1 | iex
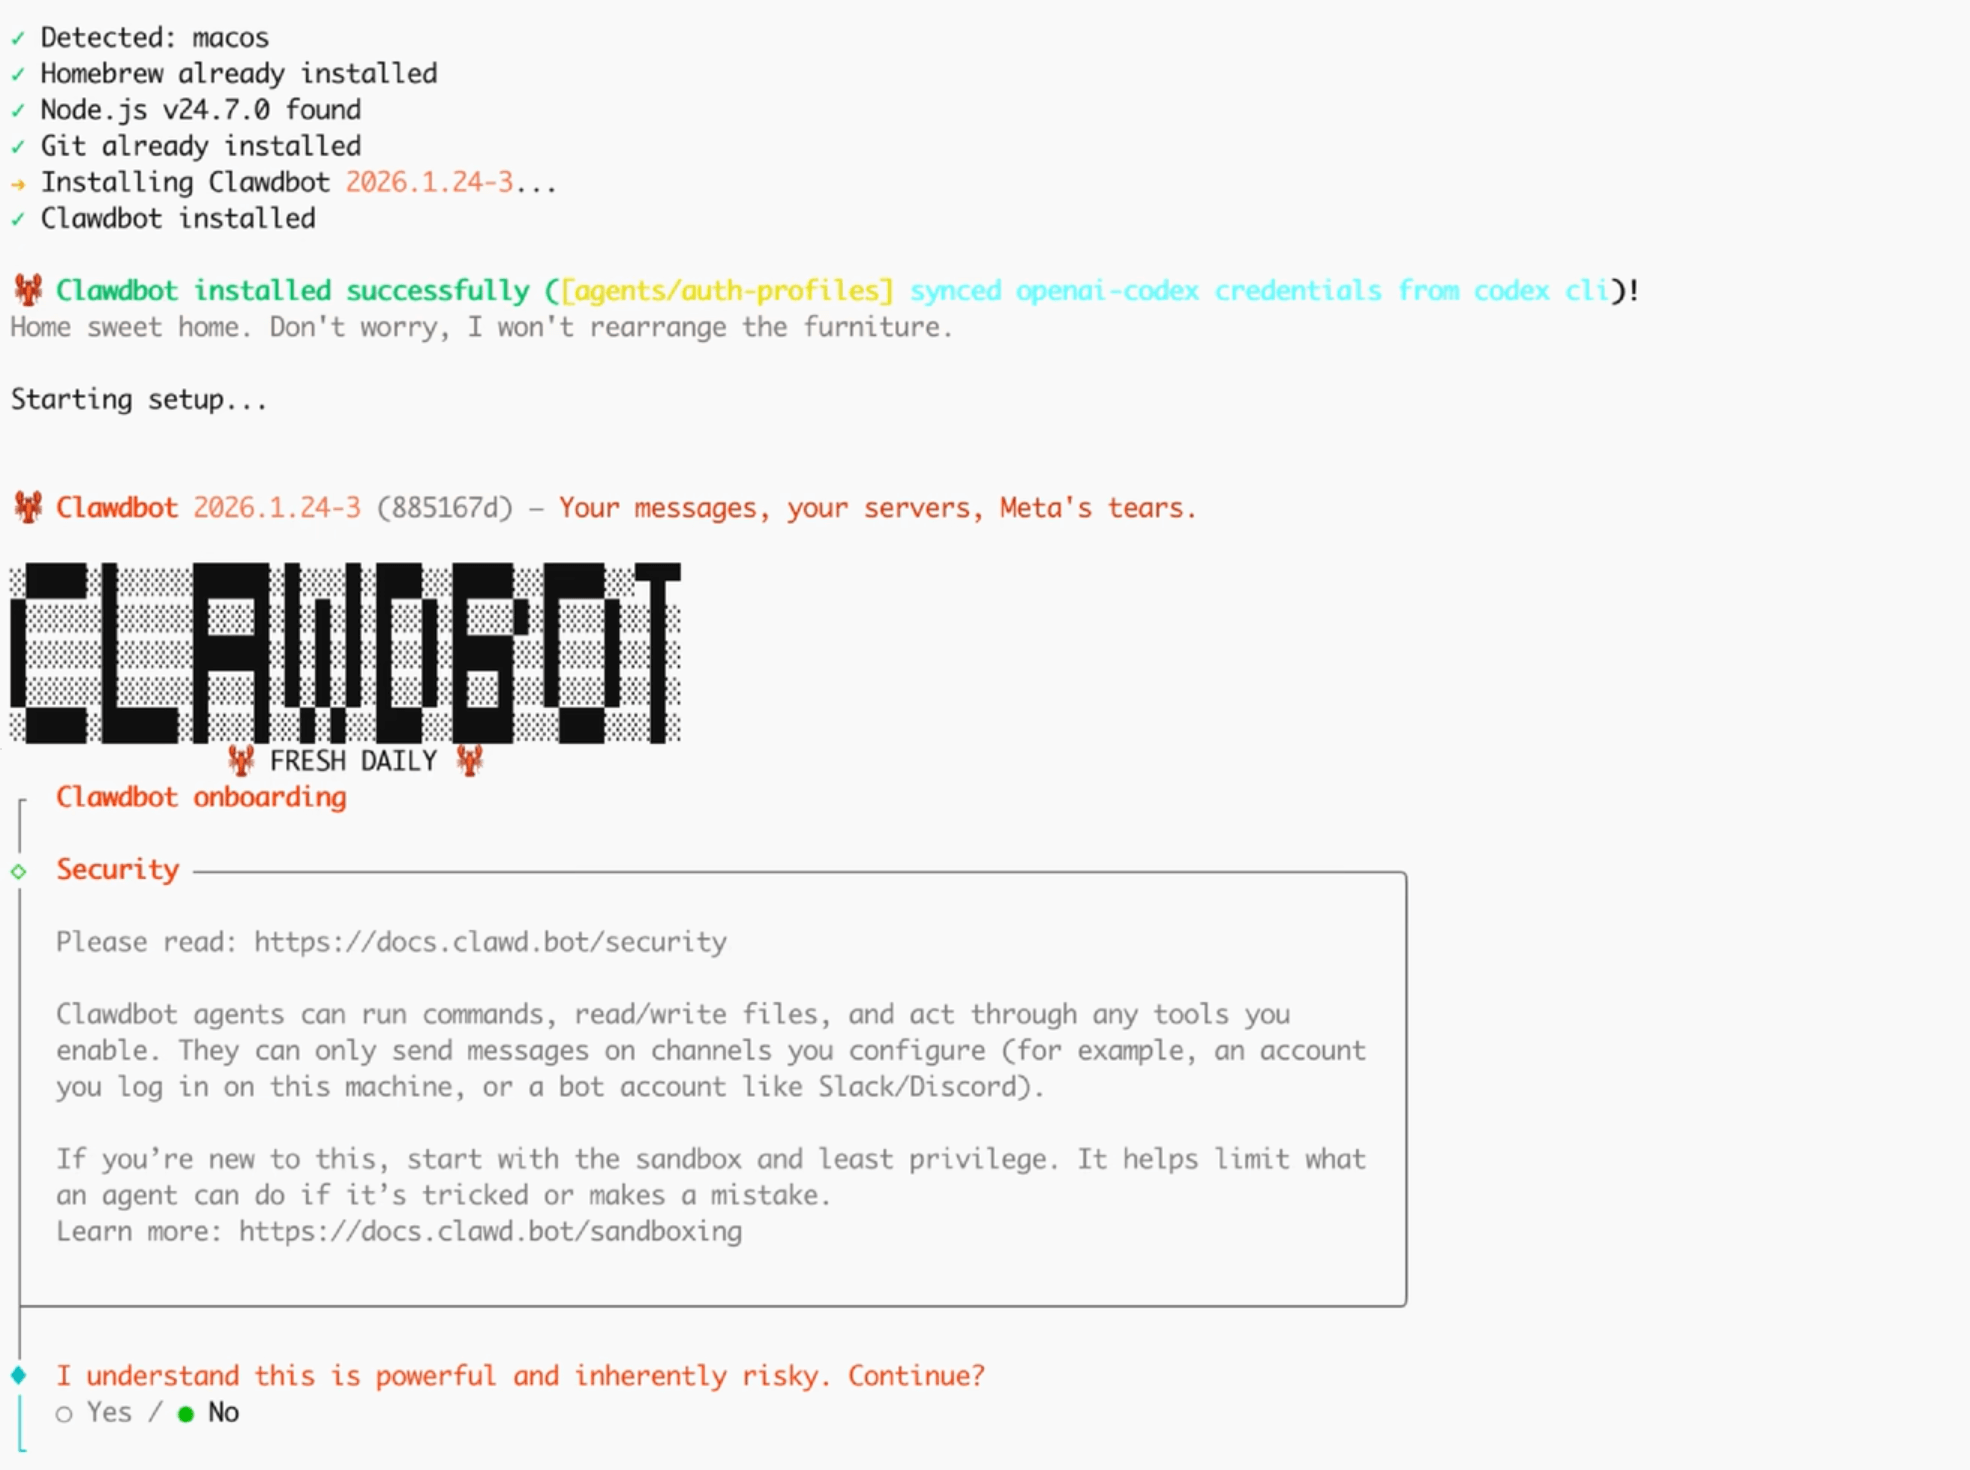
Now you can follow the steps.
Step 2: Choose Your LLM (The Brain)
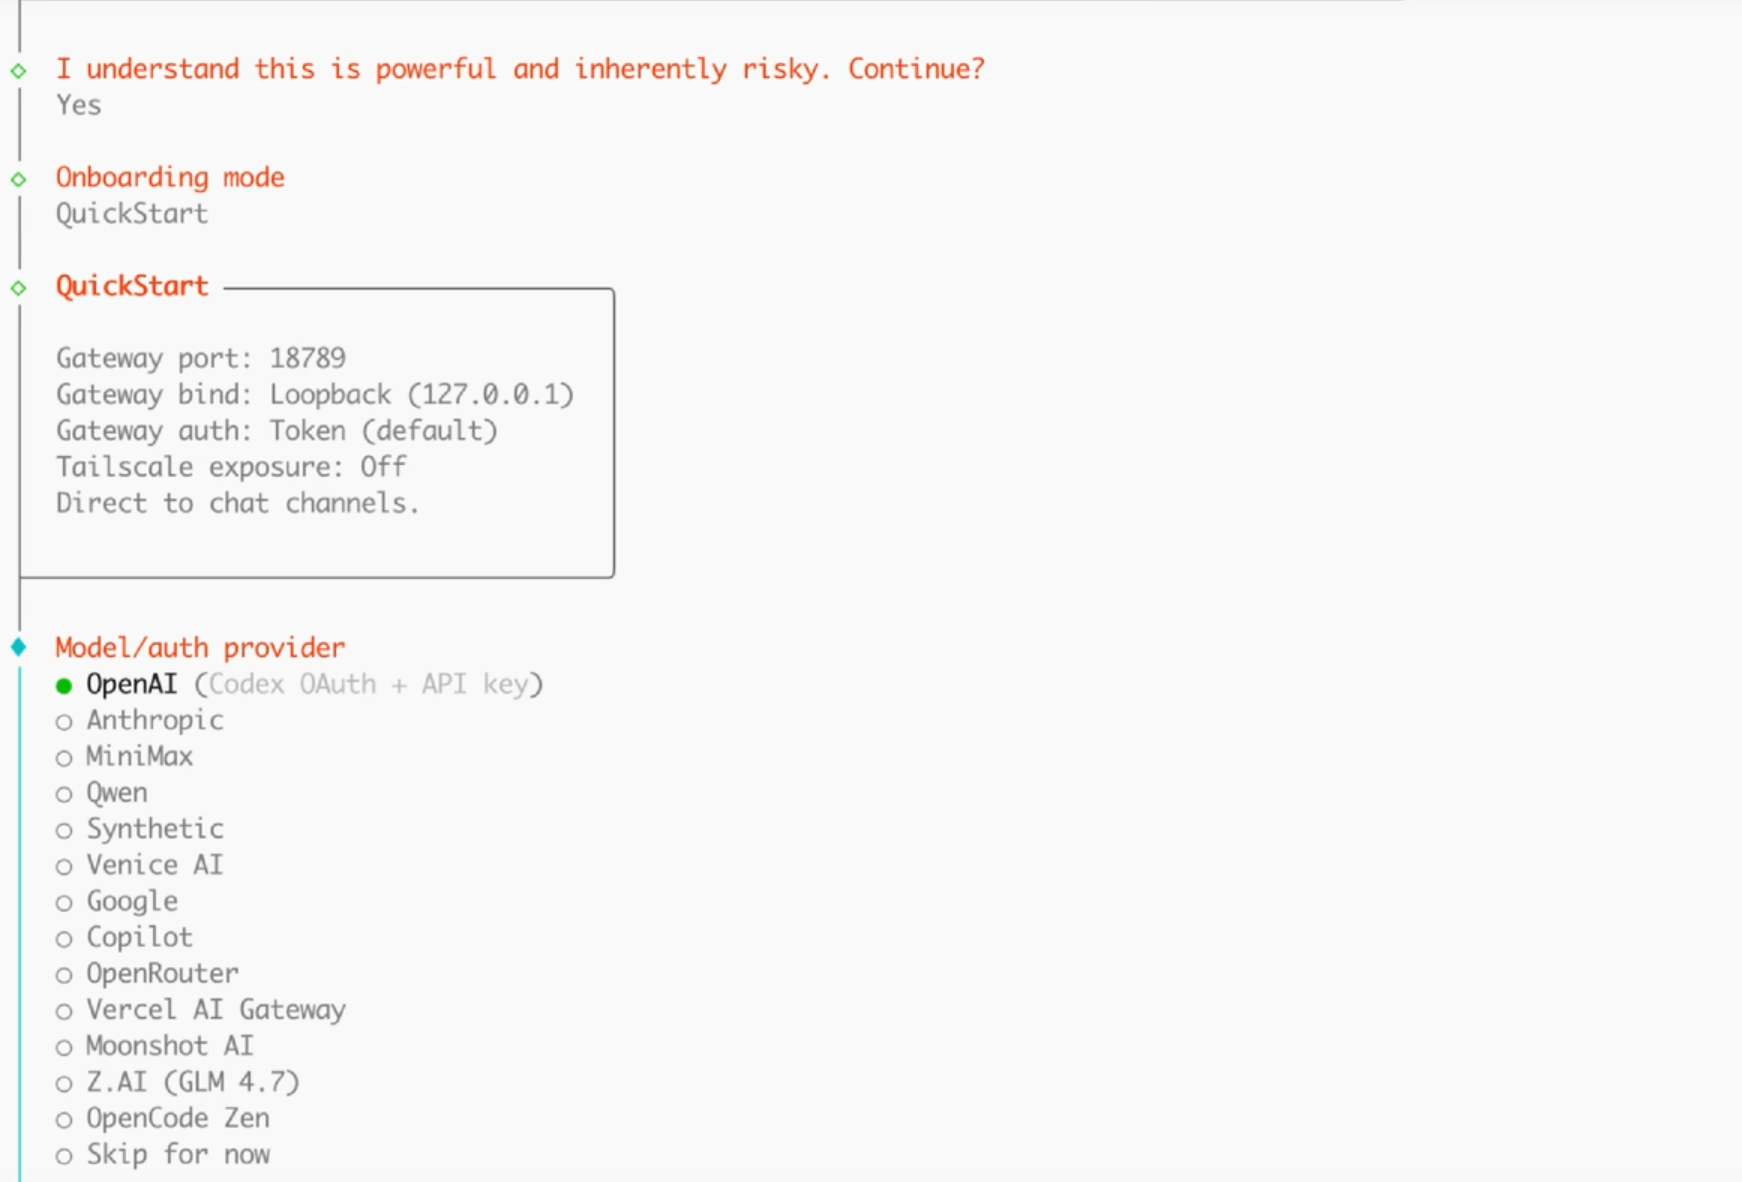
Clawdbot is model-agnostic, meaning you can choose which "brain" powers your agent. While it is named after Claude, it supports OpenAI, Gemini, and even local models via Ollama.
1 Open the .env file in the root directory.
2 Locate the PROVIDER setting.
3 Enter your API key for your chosen provider.
Recommended: Use claude-3-5-sonnet for the best balance of reasoning and speed. And here I chose OpenAI in my test.
Step 3: Select Your Communication Channel
Clawdbot needs a way to talk to you. You can choose between Telegram, WhatsApp, Slack, Discord and many more channel choices. In this guide, we will focus on the most popular choice: Telegram.
- In your .env file, find the CHANNELS section.
- Enable your preferred channel by setting it to true.
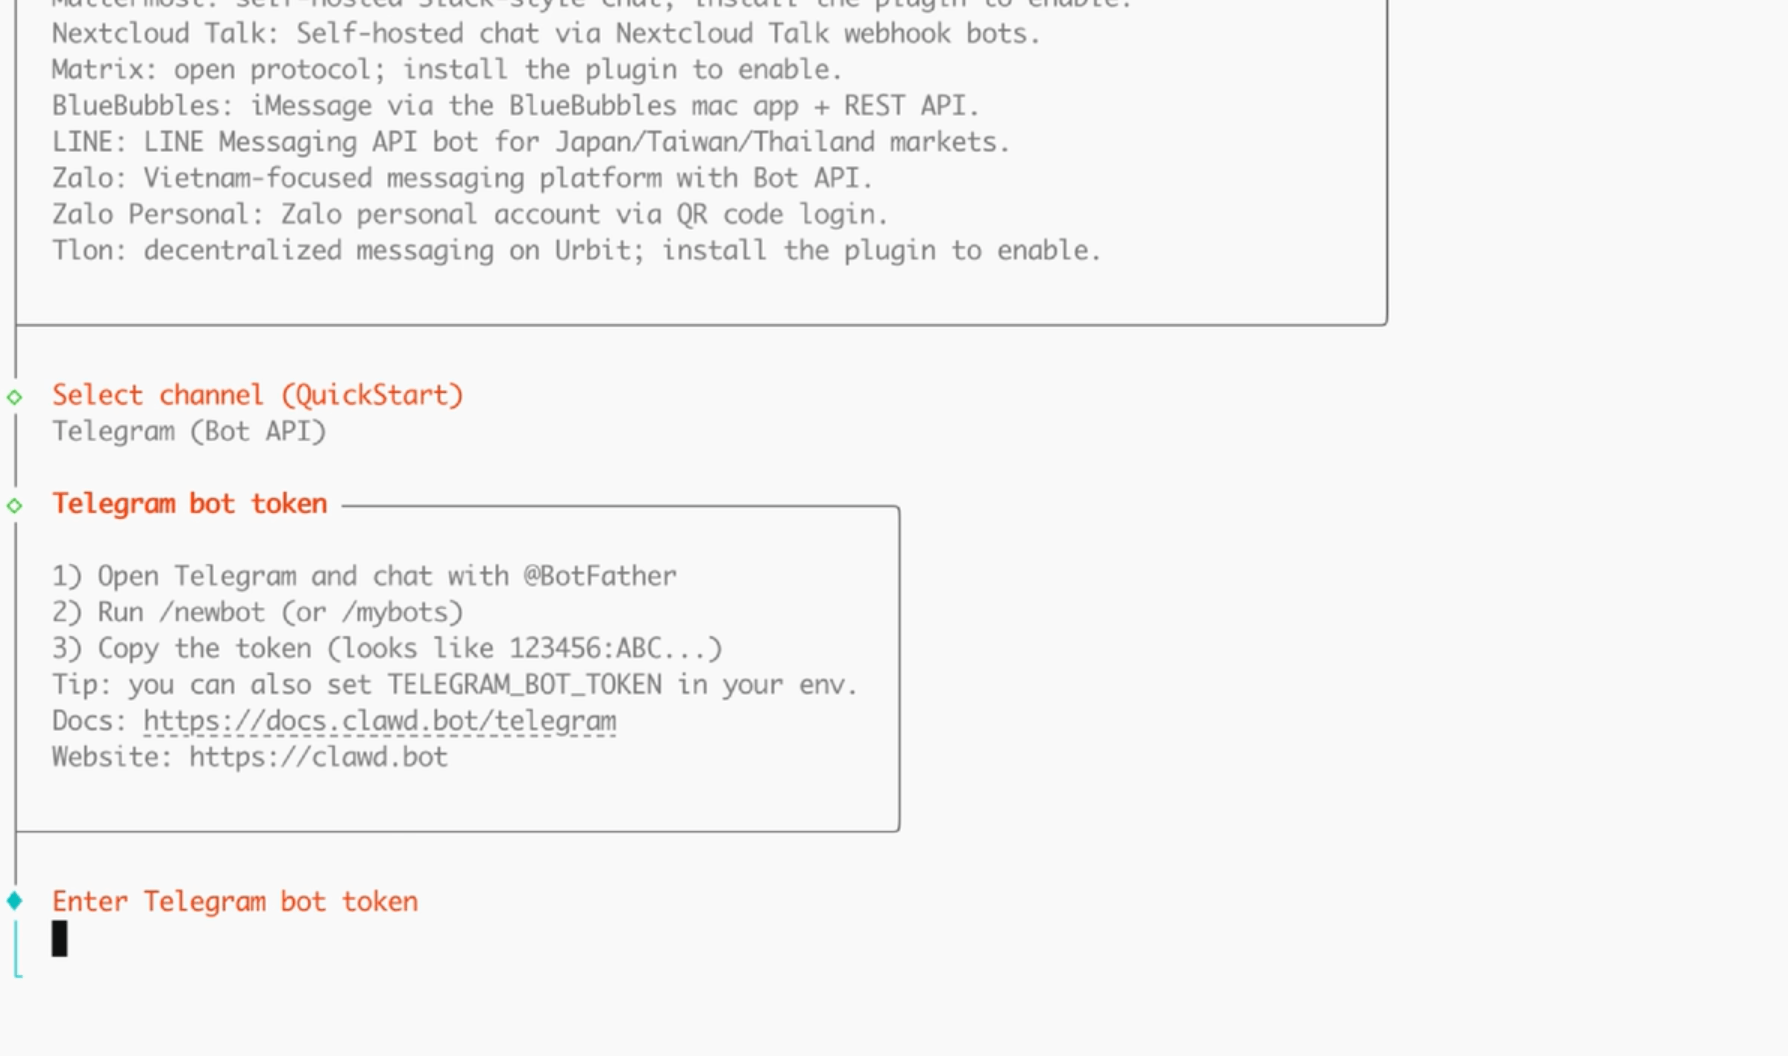
Step 4: Setting Up the Telegram Bot
- To use Telegram, you must create a bot identity via Telegram's "BotFather."
- Open Telegram and search for @BotFather.
- Send the command /newbot and follow the prompts to name your bot.
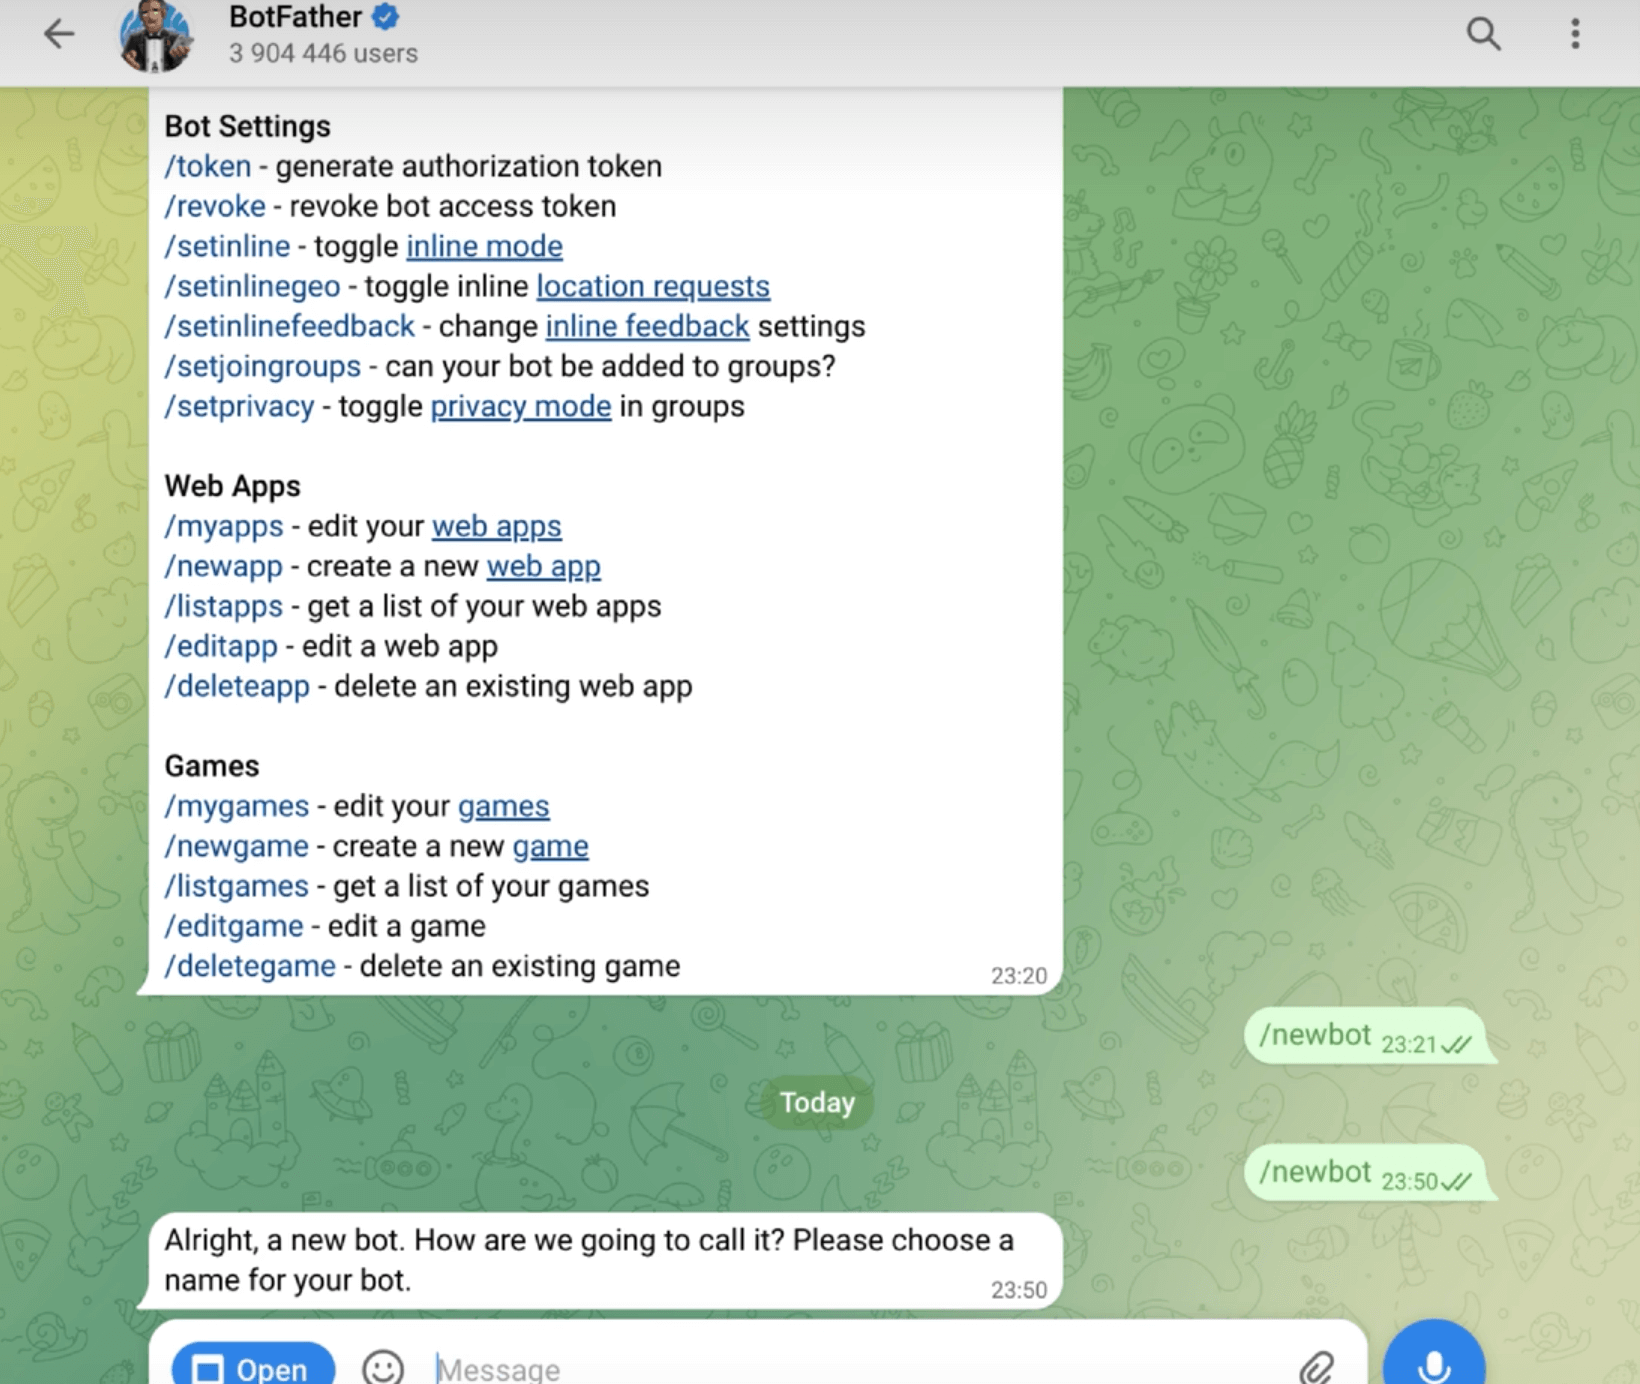
- Copy the API Token provided by BotFather.
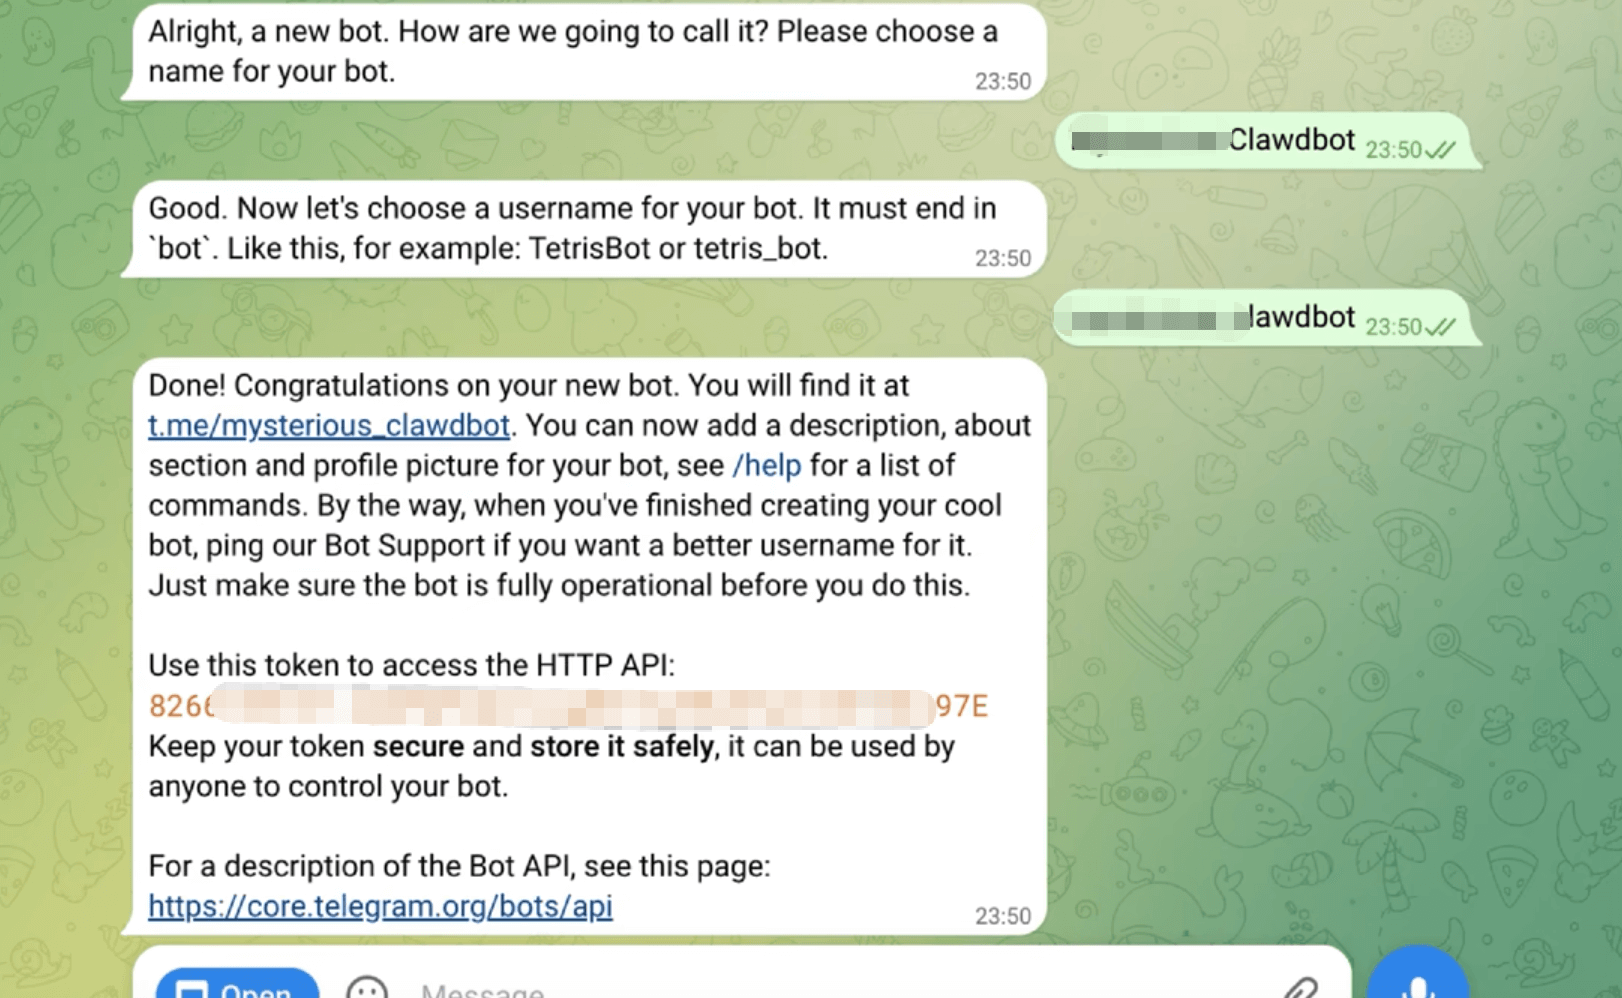
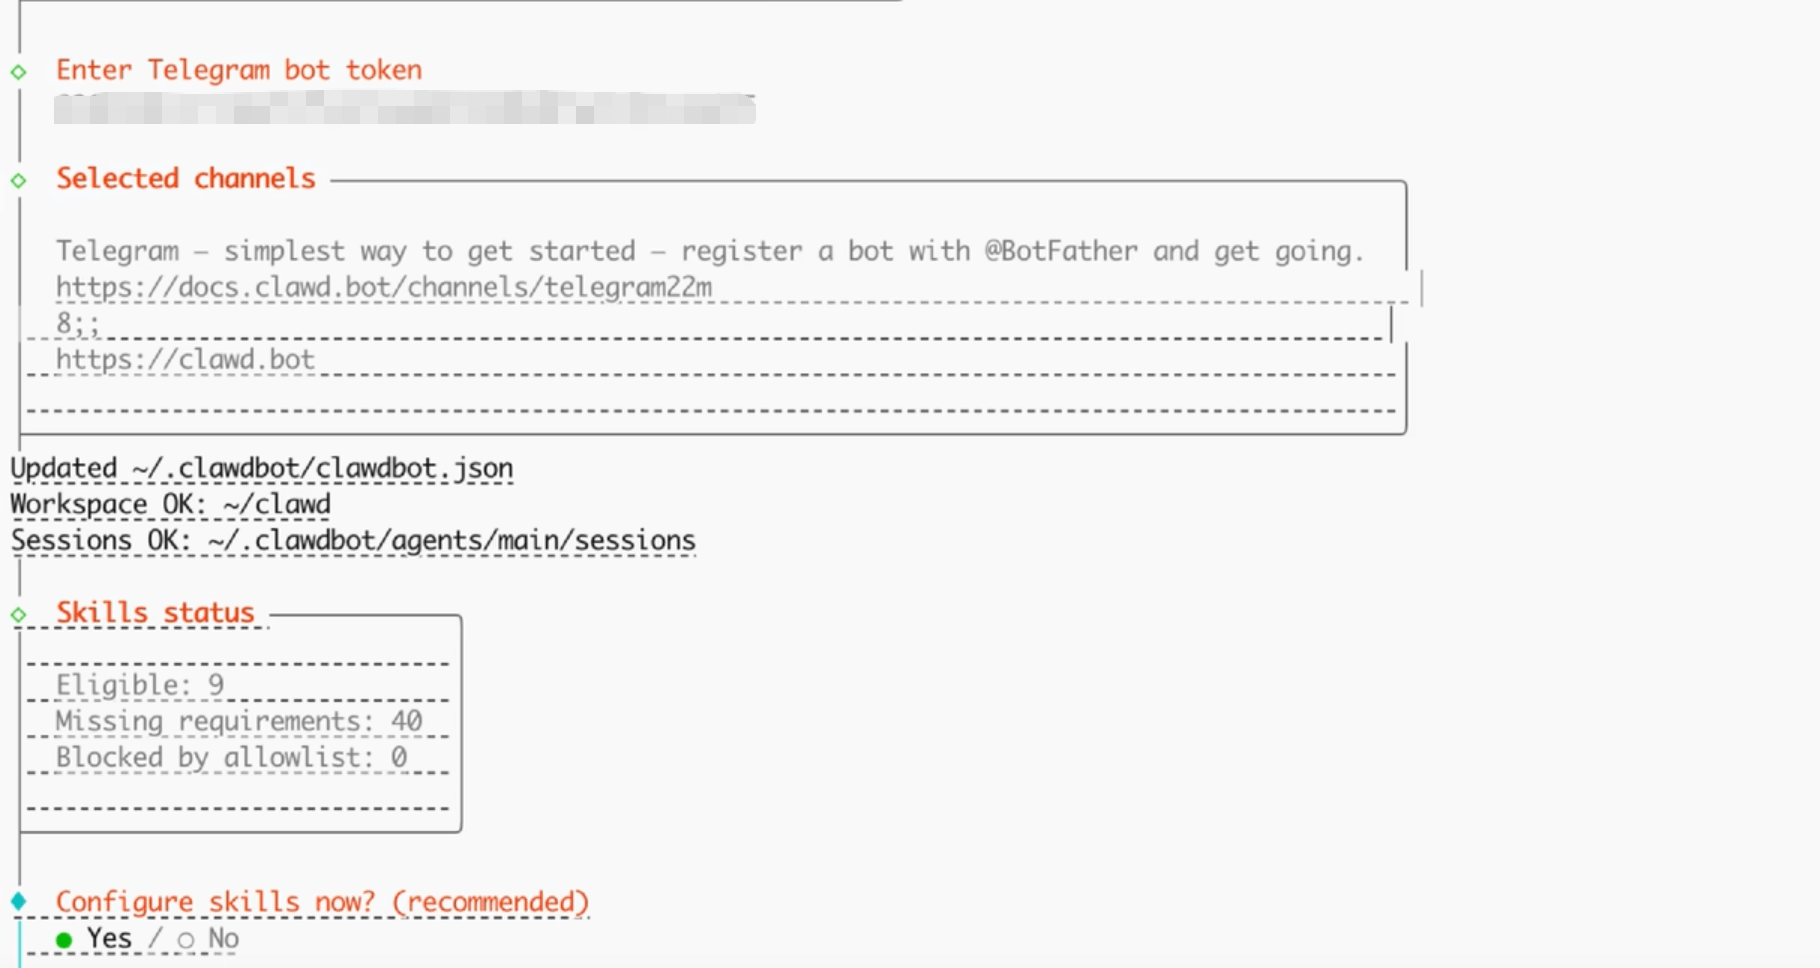
- Paste this token into the TELEGRAM_BOT_TOKEN field in your .env file.
Security Tip: Find your own Telegram User ID (using a bot like @userinfobot) and add it to ALLOWED_USERS to ensure only you can control the agent. If you’re planning to keep the agent running beyond a weekend test, learn more about openclaw's security issues for the full threat model and hardening checklist before you connect it to production chats.
Step 5: Configuring Skills and Plugins
The true power of Clawdbot lies in its Skills. These are the tools that allow the agent to perform actions like searching the web, managing files, or generating images.
- Navigate to the config/skills.yaml (or the corresponding section in .env).
- Enable Core Skills: Ensure shell_execution, browser_control, and file_manager are enabled.
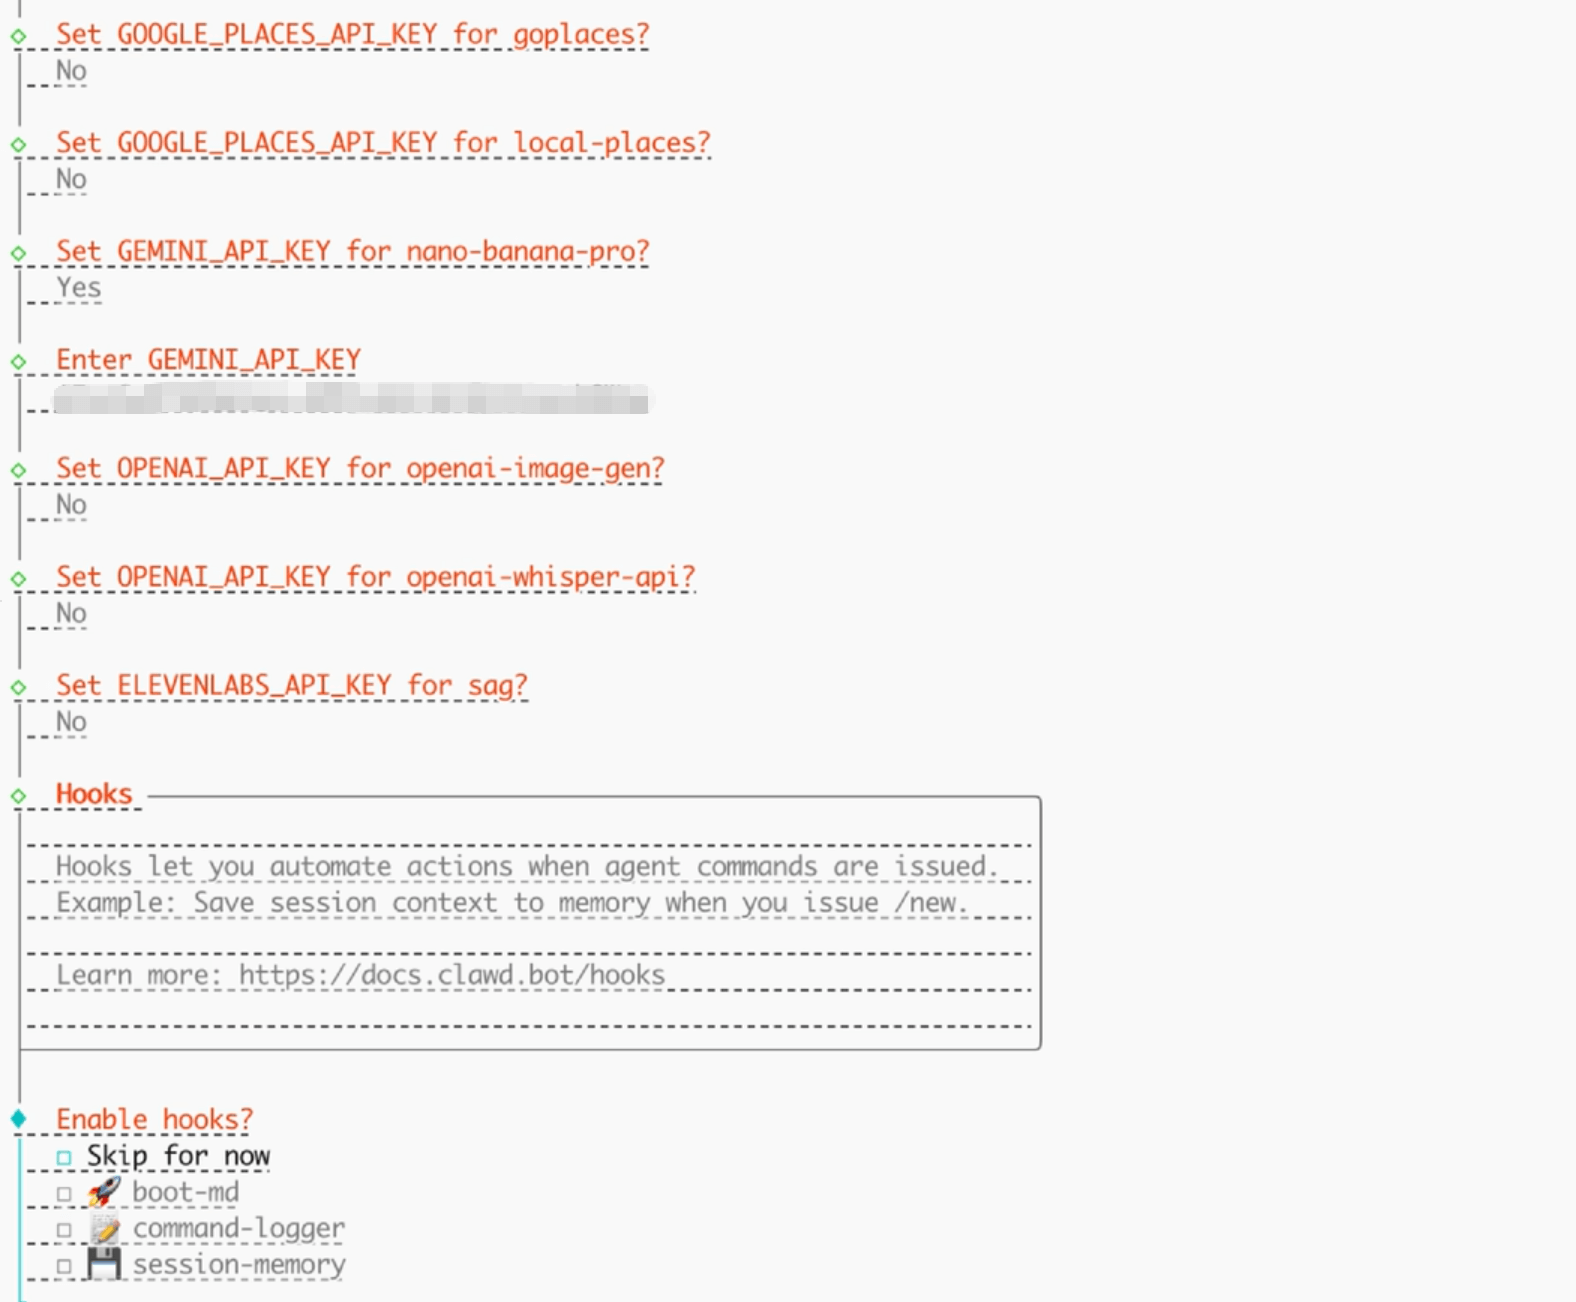
- Configure Nano Banana Pro: If you want to generate images (as seen in the viral videos), add your Nano Banana API key in the plugins section.
- Set Permissions: For each skill, you can define if it requires "Always Ask" or "Always Allow." For safety, we recommend "Always Ask" for shell commands.
Step 6: Launch and Test
Now that everything is configured, it’s time to bring your agent to life.
- In your terminal, run:
- Once the terminal says "Bot is online," open your Telegram bot and send a test message: "Hello, what can you do for me today?"
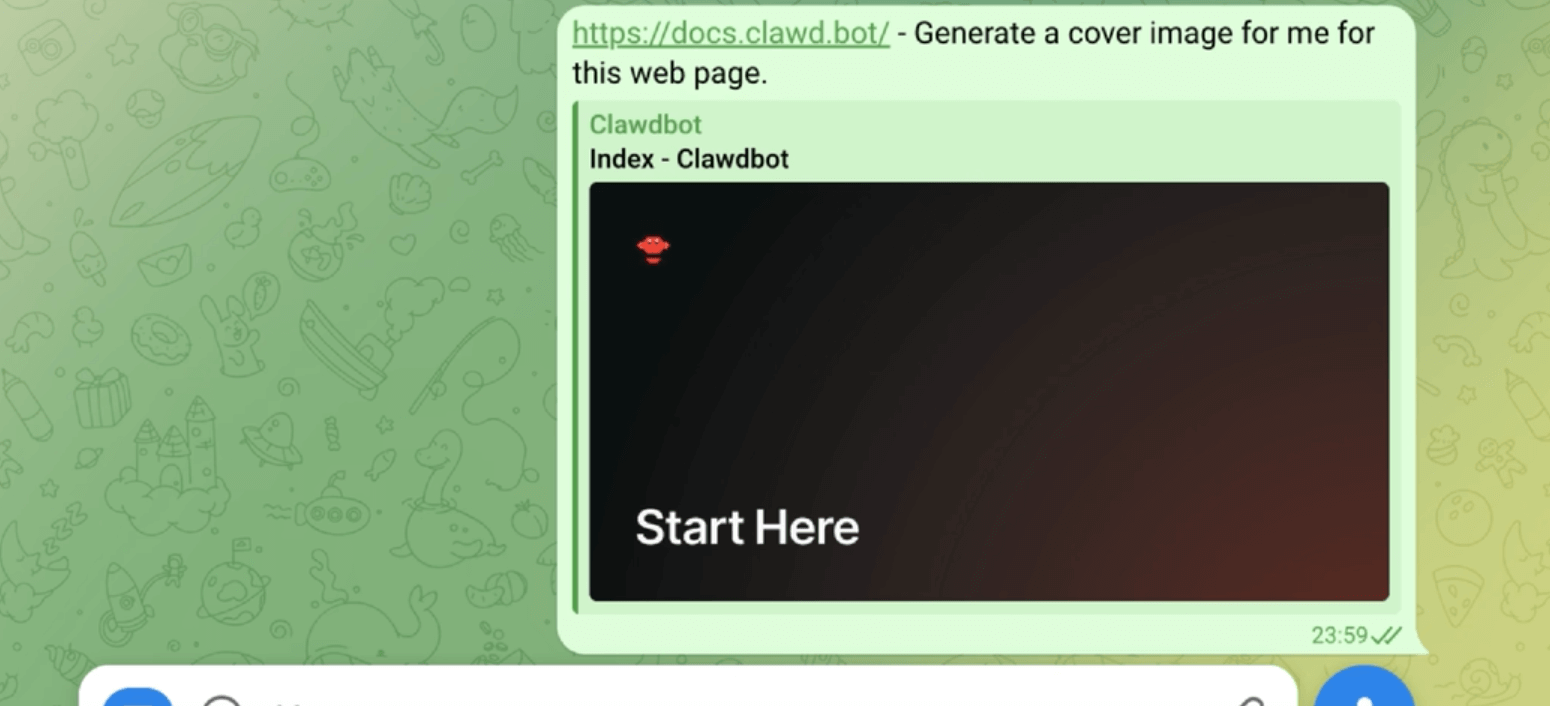
Step 7: Testing Image Generation with Nano Banana Pro
One of the most impressive features of Clawdbot is its ability to use specialized skills like Nano Banana Pro for visual tasks. This is a great way to verify that your plugin system is working correctly.
Check Configuration: Ensure your Nano Banana API key is correctly added to the plugins section of your configuration.
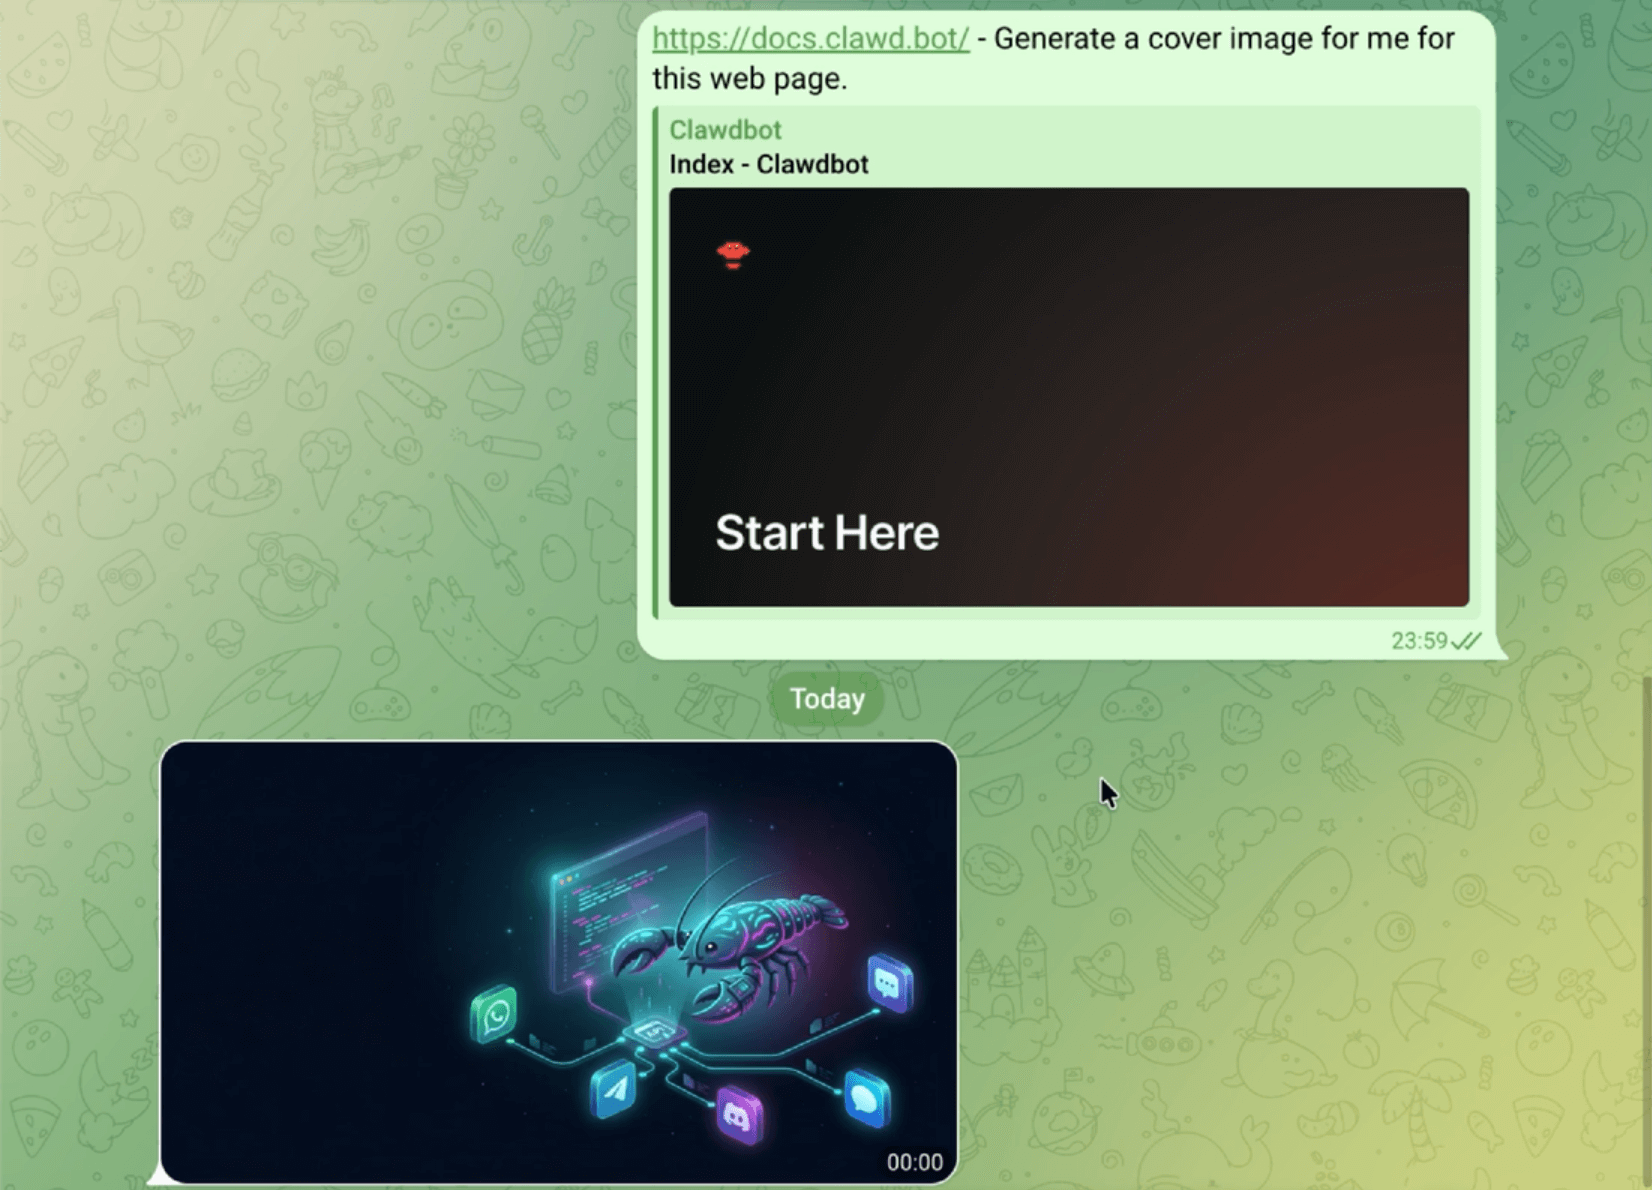
Send the Command: In your Telegram/WhatsApp chat, send a descriptive prompt: "Use Nano Banana Pro to generate a futuristic 3D render of an AI robot assistant in a minimalist office."
The Agent's Response: Clawdbot will acknowledge the request, call the Nano Banana API, and process the image.
Receive the Result: Within seconds, the agent will send the generated high-resolution image directly back to your chat.
Your AI Receptionist, Live in Minutes.
Scale your front desk with an AI that never sleeps. Solvea handles unlimited multi-channel inquiries, books appointments into your calendar automatically, and ensures zero missed opportunities around the clock.
Step 8: Running 24/7 with PM2
To ensure your "AI Butler" is always available even after you close your terminal, use PM2, a production process manager.
- Install PM2: npm install pm2 -g
- Start Clawdbot: pm2 start npm --name "clawdbot" -- start
- Save the process: pm2 save
Now, Clawdbot will automatically restart if your computer reboots.
Building is just the beginning. If installing Clawdbot sparked your interest in agentic workflows, you won't want to miss the recent update from Manus AI. They’ve just launched Agent Skills, a major step forward in how AI agents interact with the world.